I remember sitting on my floor three years ago, surrounded by a tangled, chaotic mess of cheap polyester cord and a YouTube tutorial that felt like it was written in another language. I wanted that boho-chic plant hanger I’d seen in a magazine, but instead, I ended up with a knotted disaster that looked more like a bird’s nest than decor. Most people will tell you that you need an expensive studio setup or a dozen specialized tools to get started, but that’s just gatekeeping. The truth is, macrame for beginners is actually much simpler than the influencers make it look; you don’t need a perfect aesthetic, you just need a bit of patience and the right basic knots.
In this guide, I’m stripping away the fluff and the fancy terminology to show you how to actually build something you’re proud to hang on your wall. I’ll walk you through the only three knots you actually need to know, how to pick cord that won’t drive you crazy, and how to fix your mistakes without starting from scratch. We aren’t aiming for perfection here—we’re aiming for functional, handmade style that fits your budget and your life. Let’s just get to work.
Table of Contents
Guide Overview
Tools & Supplies
- Scissors for clean cord cuts
- Measuring tape to track cord lengths
- S-hooks or a dowel to hold work in place
- Cotton macrame cord (3mm or 4mm) 1 roll
- Wooden dowel or ring 1 unit
- Masking tape for securing cords to table
Step-by-Step Instructions
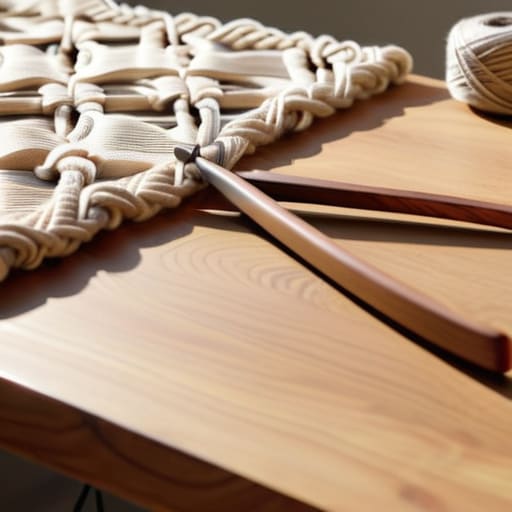
- 1. First, you need to grab your gear, and I mean the actual essentials, not the $80 “starter kits” they try to sell you online. You just need some 3mm or 4mm cotton cord (single strand is easier to work with when you’re starting out), a wooden dowel or a sturdy branch from outside, and a pair of sharp scissors. I usually keep a pair of heavy-duty shears in my junk drawer for this because standard office scissors will just chew through the cord and frustrate you.
- 2. Once you have your supplies, set up a workspace where you won’t be interrupted. I like to tape my dowel to the edge of my desk or hang it from a command hook so it stays steady while I work. If you’re trying to tie knots while holding a piece of wood in your teeth, you’re going to have a bad time. You want your hands free so you can actually focus on the tension of the rope.
- 3. Now, let’s get those cords on the rod. Cut about eight pieces of cord, each roughly two feet long. Fold them in half and loop them over your dowel using a Lark’s Head Knot. It sounds technical, but it’s literally just looping the folded end over the bar and pulling the tails through the loop. Do this until you have a row of loops hanging down; this is your foundation, and it needs to be secure.
- 4. Let’s tackle the most important knot in the book: the Square Knot. Take four strands of cord. The two middle ones stay still—think of them as the anchor—while the two outer ones do all the work. Cross the left cord over the middle ones to make a shape like a “4”, tuck the right cord under the middle ones, and pull it through the loop on the left. Flip it and do the same thing from the other side to lock it in. If your knot looks lopsided, you probably didn’t pull the tension evenly, so just try again.
- 5. If you want to add some texture without learning a dozen new patterns, try the Spiral Stitch. It’s exactly like the Square Knot, but you only do one side. If you keep crossing the left cord over the middle and through the loop, the cord will naturally start to twist into a beautiful, DNA-like spiral. It’s a great way to see immediate progress without feeling like you’re staring at a textbook.
- 6. As you go, keep an eye on your “tension.” This is where most people mess up. If you pull one knot tight and the next one loose, your project is going to look wonky and uneven. I try to find a steady rhythm—a consistent pull every single time—to keep the pattern looking clean. Don’t worry about being perfect; a little bit of character makes it look handmade, not factory-made.
- 7. Finally, once you’ve finished your pattern, it’s time for the trim. This is the part where you decide if you want a clean, straight edge or a messy, bohemian fringe. Use your sharpest scissors to cut the bottom cords to your desired length. If you want that fringe to look soft, take a fine-tooth comb and gently brush out the ends of the cotton cord. It’ll transform the piece from a bunch of strings into a professional-looking tassel.
The Essential Macrame Tools List to Get You Moving
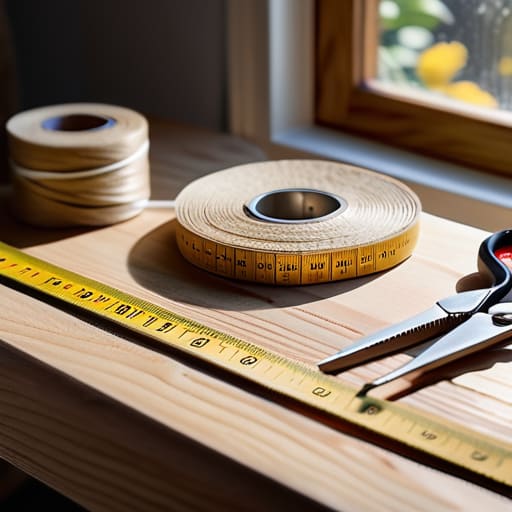
Look, you don’t need a studio full of expensive gear to start. I’ve learned from my furniture restoration projects that having too much junk just gets in the way of the actual work. For your essential macrame tools list, start with the basics: a pair of sharp fabric scissors (don’t use your kitchen shears, they’ll chew the cord), a wooden dowel or a sturdy branch from outside, and some masking tape to hold your work in place. If you really want to level up, a small measuring tape is a lifesaver when you’re trying to figure out how to measure macrame cord without wasting half a spool.
When it comes to the string itself, don’t get paralyzed by the endless options online. The best macrame cord types for beginners are usually 3mm or 4mm single-strand cotton cords. They’re soft, they don’t fray like crazy, and they hold those basic macrame knot patterns much more predictably than the fancy synthetic stuff. Grab a single roll in a neutral color, find a spot with decent light, and just get your hands moving.
Mastering Basic Macrame Knot Patterns Without the Stress
Once you’ve got your tools laid out, the biggest hurdle isn’t the dexterity—it’s the mental fatigue. When I first started, I used to stare at a tangled mess of cord and feel like I was failing because my knots looked lopsided. Here’s the secret: tension is everything. If you pull one loop tighter than the rest, your whole pattern will skew to the side. Don’t worry about perfection on your first go; just focus on keeping a consistent rhythm with your hands.
As you work through these basic macrame knot patterns, you’ll notice that most designs are really just variations of the same few moves. Instead of trying to memorize a complex diagram, try to understand the “logic” of how the cord wraps around the working strands. If you get stuck, don’t scrap the whole thing. Just untie it, take a breath, and try again. If you’re looking for some low-stakes beginner macrame project ideas, I’d suggest starting with a simple keychain or a small plant hanger. They’re quick wins that build the muscle memory you need before you tackle a massive wall hanging.
5 Ways to Keep Your First Project from Turning Into a Mess
- Don’t go overboard with the cord right away. It’s tempting to buy every color and texture you see online, but start with a single, solid cotton cord. It’s easier to see your knots when you aren’t fighting through a bunch of fuzzy, multicolored fibers.
- Embrace the “ugly” phase. Your first few square inches of knots are going to look wonky, and that’s fine. I spent three hours on a single plant hanger last month before I realized I was just tensioning my hands too tight. Just keep going; the muscle memory will kick in.
- Secure your workspace properly. If you’re trying to knot while holding the cord in your hands, you’re going to lose your mind. Find a sturdy dowel, a command hook, or even a heavy-duty clip to hang your work. You need both hands free to actually focus on the pattern.
- Watch your tension like a hawk. The biggest mistake I see is people pulling some knots tight and leaving others loose. Try to keep a steady rhythm with your hands. If one side of your project starts looking saggy, stop and reset. Consistency is what makes it look “pro.”
- Keep a “mistake pile” nearby. If you mess up a knot, don’t just cut the cord and throw it away. Untangle it if you can, or save the scraps for practice. I keep a little bin of leftover cord in my desk specifically for testing new knot tensions before I commit them to a real project.
The Bottom Line
Don’t get paralyzed by the gear; you don’t need a studio full of expensive supplies to make something cool, just a decent cord and some patience.
Focus on mastering those first two or three knots until they feel like second nature—once you have the rhythm, the rest is just math.
Your first few pieces are probably going to look a little wonky, and that’s fine. Just keep knotting, and don’t let a messy fringe stop you from finishing the project.
## The Mindset Shift
“Forget about making a Pinterest-perfect masterpiece on your first try. Macrame isn’t about precision; it’s about getting your hands dirty, making a few messy knots, and realizing that you actually have the power to build something beautiful from a single piece of string.”
Owen Silas Vance
Just Keep Knotting
Look, if you’re feeling a little overwhelmed by all the cord types and knot variations we just went over, take a breath. You don’t need a studio full of professional gear or a perfect tension to make something that looks good in your apartment. Just remember the basics: grab your cotton cord, keep your tools within reach, and focus on mastering those core knots before you try to build a massive wall hanging. It’s all about the fundamentals—getting your spacing right and learning how to read your own tension. Once those patterns become muscle memory, the rest is just playing around with different lengths and textures.
At the end of the day, macrame isn’t about achieving some flawless, Pinterest-perfect masterpiece on your first try. It’s about the satisfaction of sitting down, turning off your phone, and actually making something with your own two hands. I know it feels like another thing on your to-do list, but treat this as a way to build competence in a new skill rather than a chore. Don’t worry about the mistakes or the messy ends; just keep moving forward. You’ve got the tools and the steps, so now it’s time to just get to work.
Frequently Asked Questions
How much cord do I actually need to buy so I don't end up with a mountain of leftover scraps?
Look, I’ve been there—standing in the middle of a project with three feet of cord left and a massive pile of useless scraps on my floor. It’s a waste of money. For your first few small hangings, grab a 100-meter spool of 3mm or 4mm cotton cord. It’s enough to fail a few times without breaking the bank. If you’re doing something bigger, just double your estimated length. Better to have a little extra than to run out mid-knot.
Is there a way to do this without spending a fortune on a dedicated wooden stand or dowels?
Honestly, don’t let the “pro” setups intimidate you. I grew up in a cramped apartment where floor space was a luxury, so I learned to get creative. You don’t need a fancy wooden stand. Grab a sturdy command hook, use a heavy-duty clothes hanger, or even just drape your cord over a door frame or a curtain rod. As long as it’s stable enough to hold the tension, you’re good to go.
My knots look super loose and messy—how do I get them to look tight and professional like the photos?
Look, I’ve been there. My first few plant hangers looked less like decor and more like a bird’s nest. The secret isn’t magic; it’s tension. You have to be intentional about how hard you pull every single knot. If you’re inconsistent, the whole piece looks wonky. My trick? Pick a “tension anchor”—maybe a specific part of the cord—and use it to gauge your pull every time. Consistency is what turns a mess into a project.