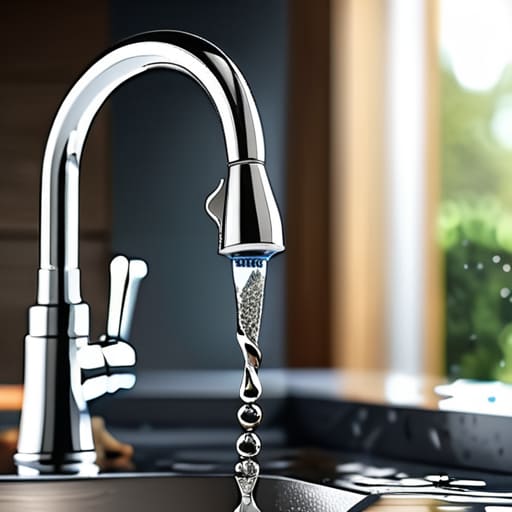
I was sitting in my kitchen at 2:00 AM, staring at the rhythmic drip… drip… drip… of my sink, feeling that familiar knot of anxiety in my chest. It wasn’t just the noise keeping me awake; it was the mental math of how much water—and how much money—was literally circling the drain while I sat there helpless. Most people will tell you that a plumbing issue like this requires a professional’s expensive touch or a massive toolkit you don’t actually own, but that’s just a way to gatekeep basic competence. Learning how to fix a leaky faucet isn’t about being a master plumber; it’s about realizing that most of these problems are just a single worn-out part away from being solved.
I’m not here to give you a complicated manual filled with jargon that makes your head spin. Instead, I’m going to walk you through the actual, messy process of getting under the sink, identifying the culprit, and swapping it out without breaking your budget or your spirit. We’re going to strip away the intimidation factor and get straight to the fix so you can finally enjoy some peace and quiet. Let’s stop letting small leaks drain your bank account and just get to work.
Table of Contents
- Step-by-Step Instructions
- Identifying Common Causes of Leaking Faucets Without the Stress
- The Essential Plumbing Tools for Faucet Repair You Actually Need
- Pro-Tips to Save Your Sanity (and Your Sink)
- The Bottom Line: Stop the Leak, Save Your Cash
- ## The Real Cost of a Drip
- Mission Accomplished
- Frequently Asked Questions
Guide Overview
Tools & Supplies
- Adjustable wrench for loosening nuts
- Screwdriver (Phillips or flathead) for removing handles
- Allen wrench for hex screw removal
- Replacement washers or O-rings (1 set)
- Plumber's grease (1 small tube)
Step-by-Step Instructions
- 1. First things first, you need to shut off the water. Look under your sink for those two oval-shaped handles; turn them clockwise until they stop. I always double-check this by turning the faucet on for a second to make sure nothing is still flowing. There’s nothing worse than starting a repair only to turn your kitchen into a small indoor pool.
- 2. Once the water is off, clear out your workspace. Pull everything out from under the sink so you have room to move, and grab a small bucket or a towel. You’re going to want to plug the drain with a rag or a sink stopper. Trust me on this—if you drop a tiny screw or a washer down that drain, your afternoon just went from a quick fix to a major headache.
- 3. Now, let’s get into the guts of the faucet. Most modern faucets have a decorative cap on top of the handle that you can pop off with a flathead screwdriver. Once that’s out, you’ll see a screw holding the handle in place. Unscrew it, lift the handle off, and you should see the valve stem or cartridge. This is usually where the magic happens (or where the trouble starts).
- 4. Depending on your faucet type, you’ll likely need to pull out the cartridge or unscrew the stem. Use your adjustable wrench to loosen the packing nut, but don’t go overboard with the force. You want it firm, but you aren’t trying to snap the metal. If it feels stuck, give it a second to settle before applying more pressure.
- 5. Inspect the parts you just pulled out. Most leaks are caused by a worn-out O-ring or a degraded rubber washer. Look for any cracks, buildup, or even just a bit of grit that’s preventing a tight seal. If the washer looks flattened or brittle, it’s time for a replacement. I usually keep a small assortment of washers in my toolkit for exactly this reason.
- 6. Take the old parts with you to the hardware store. Don’t try to guess the size based on a photo or a memory; even a millimeter of difference can mean the difference between a fix and a flood. Once you’ve grabbed the exact match, swap the old components for the new ones. Make sure everything is seated properly before you move on.
- 7. It’s time to put it all back together in the reverse order you took it apart. Tighten the nut, pop the handle back on, and replace the screw and cap. Before you call it a day, turn the water supply back on slowly. Watch the faucet closely for a minute to ensure the drip is officially history, and then you can finally clean up and get back to your life.
Identifying Common Causes of Leaking Faucets Without the Stress
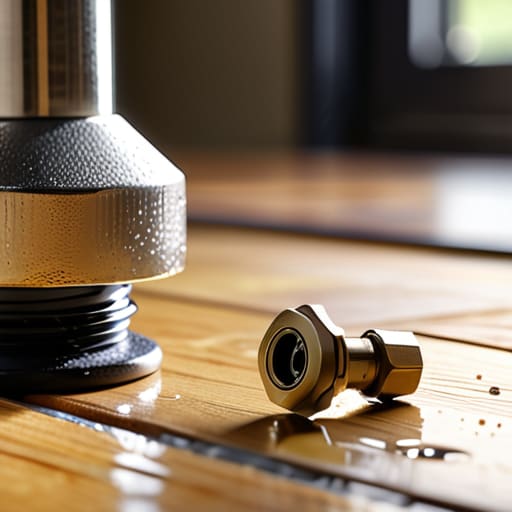
Before you start tearing things apart, you need to play a little detective. Most of the time, a leak isn’t some catastrophic pipe failure; it’s usually just a tiny component that’s reached its expiration date. One of the most common causes of leaking faucets is a worn-out washer or an old O-ring that’s lost its seal. If you notice the water is seeping from the base of the handle rather than the spout, you’re likely looking at a seal issue. If it’s coming straight from the tip, you’re probably dealing with a faulty cartridge or a stem problem.
Don’t let the mystery intimidate you. I always tell myself to look for the pattern before grabbing my heavy-duty plumbing tools for faucet repair. For instance, if you have a single-handle lever, you’re likely looking at a cartridge faucet replacement scenario rather than a simple washer swap. Once you identify whether the issue is a worn-out part or just a loose connection, you can stop guessing and start fixing. It’s all about narrowing down the culprit so you don’t waste time buying parts you don’t actually need.
The Essential Plumbing Tools for Faucet Repair You Actually Need
Look, I’ve learned the hard way that you don’t need a professional-grade workshop to handle basic maintenance, but you also can’t wing it with a butter knife and a prayer. If you try to force a stubborn nut with the wrong tool, you’re going to end up with a stripped screw and a much more expensive headache. Before you dive in, grab an adjustable wrench, a set of screwdrivers (both Phillips and flathead), and some needle-nose pliers. These are the bread and butter of any basic plumbing tools for faucet repair kit.
If you’re dealing with a more modern setup, you might also need a specific cartridge puller or a hex key set. Knowing whether you need to replace faucet washer components or tackle a full cartridge faucet replacement steps process depends entirely on what’s under your sink. I always keep a small container of plumber’s grease and some Teflon tape in my kit, too. Having these small extras on hand prevents you from having to make a second, frustrating trip to the hardware store mid-project.
Pro-Tips to Save Your Sanity (and Your Sink)
- Shut off the water before you even touch a wrench. I’ve seen too many people dive in without turning off the valves under the sink, and trust me, you don’t want a sudden indoor fountain ruining your afternoon.
- Take photos of every single part as you take it apart. When you’re staring at a pile of washers and O-rings on your counter, you’ll be glad you have a visual map of how they actually fit together.
- Don’t go overboard with the force. If a screw or a nut isn’t budging, don’t just crank on it with all your might; you might crack the housing. Use a bit of penetrating oil, give it a minute, and try again.
- Clean the “gunk” out while you’re in there. While the faucet is disassembled, use a little vinegar to clear out any mineral buildup or sediment. It’s a two-minute job that prevents the leak from coming back next week.
- Inspect the parts, don’t just replace them. If a washer looks perfectly intact and flexible, you might not need a new one—but if it’s cracked or flattened, swap it out immediately. It’s better to spend five bucks now than deal with a drip for another month.
The Bottom Line: Stop the Leak, Save Your Cash
Most leaks aren’t “broken” plumbing; they’re just worn-out washers or cartridges that you can replace for a few bucks if you take the time to look.
Don’t skip the prep work—turning off the water supply under the sink is the one step you absolutely cannot afford to mess up.
You don’t need a professional’s toolkit to get this done; if you have the basic tools and a little patience, you’ve got this handled.
## The Real Cost of a Drip
“A leaky faucet isn’t just a plumbing problem; it’s a slow drain on your bank account and your peace of mind. Fixing it isn’t about being a master plumber—it’s about taking control of the small things before they turn into expensive headaches.”
Owen Silas Vance
Mission Accomplished
Once you’ve identified whether it was a worn-out washer, a faulty O-ring, or a loose cartridge, the hardest part is actually behind you. We went through the tool kit, diagnosed the source of that annoying sound, and walked through the actual mechanical fix step-by-step. Remember, the goal wasn’t just to stop the water from hitting the sink; it was to ensure you didn’t waste money on a professional plumber for a job that only required a screwdriver and twenty minutes of your time. Keep that little notebook of yours handy and jot down what you replaced, just in case it happens again.
If you’re feeling a little bit of a rush right now, lean into it. That feeling of looking at a piece of broken hardware and realizing you have the agency to fix it yourself is exactly how you build real-world confidence. You don’t need a massive toolkit or a degree in engineering to maintain your space; you just need the willingness to get your hands dirty and follow the process. Every small win like this—fixing a tap, tightening a hinge, or patching a wall—is a brick in the foundation of a life you actually control. Now, go enjoy the silence of a drip-free kitchen.
Frequently Asked Questions
What if I open the faucet up and realize I don't have the specific replacement part I need?
Look, this happens to the best of us. You open the valve, and suddenly you’re staring at a part that looks nothing like the photo on Google. Don’t panic and don’t go buying random stuff. My rule: take the old part with you. Head to the hardware store, lay it on the counter, and match it up physically. It’s the only way to ensure you aren’t wasting more money on “close enough” parts.
How do I know if I'm dealing with a simple washer issue or if the entire cartridge needs to be replaced?
Here’s the deal: if it’s just a steady drip from the spout, it’s usually a worn-out washer—a cheap, five-minute fix. But if water is leaking from the handle itself or the faucet feels “mushy” and won’t shut off completely, that’s a sign the cartridge is shot. Don’t waste money on extra washers if the cartridge is the culprit; just bite the bullet, grab the replacement, and swap the whole unit out.
Is there a way to tell if the leak is actually coming from the faucet itself or if it's a deeper issue with the pipes under the sink?
That’s a great question, and honestly, it’s the most important one to ask before you start tearing things apart. Here’s the quick test: dry everything off completely with a towel first. Then, run the tap. If the water is pooling at the base of the spout or dripping from the handle, it’s the faucet. But if you see moisture creeping along the supply lines or pooling in the cabinet below, you’re looking at a pipe issue.