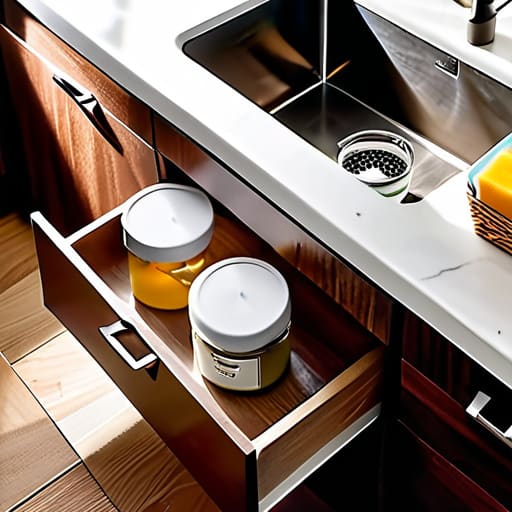
I used to think that if I wanted a functional kitchen, I’d need to drop two hundred bucks on those custom acrylic pull-out drawers you see all over Instagram. But honestly? Most of that “aesthetic” organization is just expensive clutter in disguise. I learned the hard way growing up in a cramped rental that you don’t need a designer budget to master how to organize under the sink; you just need a plan that actually works when you’re elbow-deep in dish soap and looking for a sponge. Stop letting the overpriced gadget hype convince you that competence requires a massive credit card limit.
I’m not here to sell you on a lifestyle you can’t afford or a system that falls apart the second you move a bottle of Windex. Instead, I’m going to show you how to use basic bins, some smart grouping, and a little bit of logic to reclaim that dark, messy void. This is about practical, low-cost solutions that respect your time and your wallet. Let’s strip away the nonsense and get your space sorted so you can get back to your actual life.
Table of Contents
Kitchen Cabinet Decluttering Tips That Actually Work
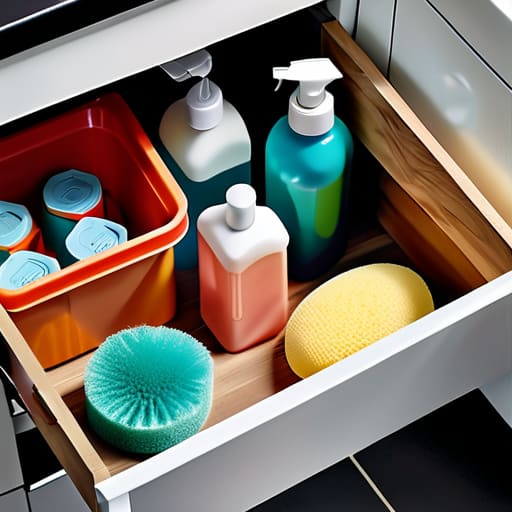
Before you even think about buying fancy bins, you need to face the music: most of what’s under there is probably expired or useless. I spent twenty minutes last weekend digging through a graveyard of half-empty bottle cleaners and sponges that had seen better days. My rule is simple: if you haven’t touched it in six months, it’s gone. Once you’ve cleared the junk, start grouping things by how you actually use them. Keep your daily dish soaps together and stash the heavy-duty degreasers in a separate zone. This is the foundation of effective kitchen cabinet decluttering tips—you can’t organize clutter, you can only get rid of it.
Once the surface is clear, it’s time to tackle the depth issue. Most of these cabinets are deep, dark pits where things go to die. To fix this, I highly recommend investing in some under sink pull out organizers. They basically turn a dark cave into a tiered drawer, so you aren’t kneeling on the floor just to find the Windex. If you’re dealing with a leaky pipe or just general moisture, throw down some waterproof cabinet liners first. It’s a small step that saves you a massive headache later.
Maximizing Small Cabinet Space Without the Stress
When you’re dealing with a tiny footprint, you have to stop thinking about floor space and start thinking about verticality. Most people leave the top half of their cabinet completely empty, which is basically wasted real estate. I’m a huge fan of using stackable bins or even small tension rods to create “shelves” where there aren’t any. If you’re working in a tight spot, under sink pull out organizers are absolute game-changers; they turn a dark, deep abyss into something you can actually access without digging through a pile of half-empty sponges.
Another thing I’ve learned from fixing up old apartments is that moisture is your biggest enemy. Before you even start Tetris-ing your bottles into place, lay down some waterproof cabinet liners. It’s a cheap, five-minute fix that prevents a leaky soap bottle from ruining your wood grain. Once that’s set, group your items by frequency of use. The stuff you grab every single morning should be front and center, while the heavy-duty cleaners can live in the back. It’s about working smarter, not just shoving things in and hoping for the best.
My Go-To Tactics for Keeping the Chaos Contained
- Group your stuff by how you actually use it. I like to keep all my heavy-duty cleaners in one spot and the daily-use stuff, like dish soap and sponges, right up front so I’m not digging through a graveyard of half-empty spray bottles every time I need to wipe a counter.
- Get some clear bins. Forget the expensive, custom-fitted organizers you see on Pinterest; just grab some sturdy, transparent plastic bins from a discount store. It lets you see exactly what’s in the back without having to pull everything out and make a mess on the floor.
- Utilize the door. This is a total game-changer for small spaces. I use adhesive hooks or a small wire rack on the inside of the cabinet door to hold sponges, scrub brushes, or even those extra rolls of trash bags. It frees up the actual floor space for the bigger items.
- Don’t ignore the plumbing. Since you’re working around pipes and a drain, standard drawers usually won’t work. I’ve found that expandable under-sink shelving units are worth the few bucks because they’re designed to fit around the hardware, giving you much more usable vertical space.
- Keep a “quick-fix” kit handy. Since I’m always carrying my multi-tool, I’ve learned the value of being prepared. I keep a small container with a pair of gloves, a rag, and maybe some heavy-duty tape tucked in the corner. If a pipe starts sweating or a bottle leaks, you can deal with it immediately instead of letting it turn into a disaster.
The Bottom Line
Don’t buy expensive organizers before you declutter; you can’t organize your way out of a mess you don’t actually need.
Think vertically—use stackable bins or small shelves to turn that wasted air space into actual storage.
Keep your most-used stuff (like dish soap or sponges) right at the front so you aren’t digging through a mountain of sponges every time you need to wipe a counter.
## The Real Goal of Organizing
“Organizing your under-sink cabinet isn’t about achieving some Pinterest-perfect aesthetic; it’s about making sure that when you’re mid-task and something leaks, you aren’t fighting a war against a mountain of half-empty bottles just to find a sponge.”
Owen Silas Vance
Bringing It All Together
At the end of the day, organizing your under-sink area isn’t about buying every expensive acrylic bin you see on social media; it’s about creating a system that actually serves your daily life. We’ve covered how to clear out the expired cleaners, how to use tiered organizers to stop that “buried at the back” frustration, and how to group your essentials so you aren’t hunting for the dish soap every time you make a mess. Just remember: keep it functional first. If a solution looks pretty but makes it harder to reach your sponge, it’s not a win. Focus on logical grouping and accessibility, and you’ll find that the chaos stays at bay much longer.
I know that looking at a cluttered cabinet can feel like just one more thing on an endless to-do list, but I promise you, the payoff is worth the twenty minutes of effort. There is a specific kind of quiet confidence that comes from opening a door and seeing everything exactly where it belongs. You don’t need a designer kitchen or a massive budget to master your space; you just need the willingness to start where you are. Take it one bin at a time, grab your multi-tool if you need to tighten a shelf, and just get it done. You’ve got this.
Frequently Asked Questions
What should I do with all those half-empty cleaning bottles and old sponges taking up space?
Look, I’ve been there—staring at a graveyard of half-used Windex bottles and crusty sponges. Here’s the deal: if you haven’t used it in three months, toss it. Don’t let “maybe I’ll need this” clutter your life. For the bottles that are still good, decant them into uniform dispensers if you want the look, but honestly, just grouping them in a small tray is enough. As for sponges? If they smell, they’re done. Get them out.
Are there any cheap DIY hacks for organizing if I don't want to spend a fortune on fancy acrylic bins?
Look, I get it. Those clear acrylic bins look great on Instagram, but they’re expensive and easy to crack. You don’t need a boutique budget to get organized. I usually raid my recycling bin first—sturdy cardboard boxes or even old shoe boxes work perfectly as makeshift dividers. If you have some old glass jars from pasta sauce, clean them out for small items like sponges or scrubbers. It’s about function, not looking like a showroom.
How do I keep things from getting damp or smelling weird under there, especially if I have a leaky pipe?
If you’ve got moisture or a lingering funk, you need to act fast before mold moves in. First, dry everything out completely. Grab a shop vac if you have one to suck up standing water. I always keep a few silica gel packets or a small container of baking soda tucked in the back to soak up odors. Most importantly: if there’s a leak, don’t just ignore it. Tighten the connection or call it in.