I was sitting on my floor last Tuesday, surrounded by half-empty paint cans and enough drop cloths to cover a small park, staring at a streak of “eggshell white” that looked more like a muddy disaster. My first attempt at learning how to paint a room was a total train wreck, mostly because I thought I could just wing it with a cheap brush and some optimism. I learned the hard way that the difference between a professional finish and a DIY nightmare isn’t some secret expensive magic; it’s just about respecting the prep work and knowing which tools actually matter.
I’m not here to sell you on some high-end, designer lifestyle or tell you that you need a studio apartment to pull this off. This guide is about the real, gritty process of getting the job done without breaking your budget or your spirit. I’m going to walk you through the exact, no-nonsense steps I use to transform a space, from the initial cleaning to that final, satisfying coat. We’re going to focus on smart, practical moves so you can stop staring at those scuffed walls and actually start enjoying your space.
Table of Contents
- Step-by-Step Instructions
- Gathering Your Essential Painting Tools and Supplies Without Breaking the B
- Mastering How to Prep Walls for Painting and Calculating Paint Quantity
- 5 Pro Moves to Save Your Sanity (and Your Walls)
- The Bottom Line
- ## The Real Secret to a Good Finish
- The Final Coat
- Frequently Asked Questions
Guide Overview
Tools & Supplies
- Paintbrush for cutting in edges
- Roller and tray for large surfaces
- Painter's tape for protecting trim
- Drop cloths to protect flooring
- Interior paint (1-2 gallons per room)
- Painter's tape (1-2 rolls)
- Sandpaper (medium grit for smoothing)
- Spackle (small tub for hole repair)
Step-by-Step Instructions
- 1. First, you’ve got to clear the deck. You don’t need to move every single piece of furniture out of the room, but you do need to get the big stuff toward the center and cover it with old sheets or cheap plastic drop cloths. I’ve learned the hard way that a single splatter of eggshell white on a dark rug can ruin your entire mood. Grab your multi-tool, tighten any loose outlet covers, and move your small stuff into a different room so you actually have space to move your arms.
- 2. Next up is the cleaning and prep phase, which is honestly the part most people try to skip. If there’s dust or grease on those walls, the paint isn’t going to stick, and you’ll be peeling it off in six months. Take a damp cloth or a sponge with a little bit of mild soap and wipe down the walls from top to bottom. While you’re at it, patch up any annoying nail holes with a bit of spackle. Just let it dry, sand it smooth with a fine-grit sandpaper, and you’re golden.
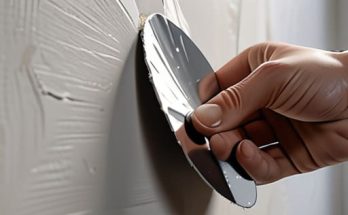
- 3. Now, grab your painter’s tape. This is where the “pro” look actually happens. Don’t just slap it on; press the edges down firmly with your finger or a putty knife to ensure there are no tiny gaps. Tape off your baseboards, your window frames, and your ceiling edges. If you’re feeling extra careful, you can even tape the edges of the light switches. This is the barrier between a job well done and a messy disaster.
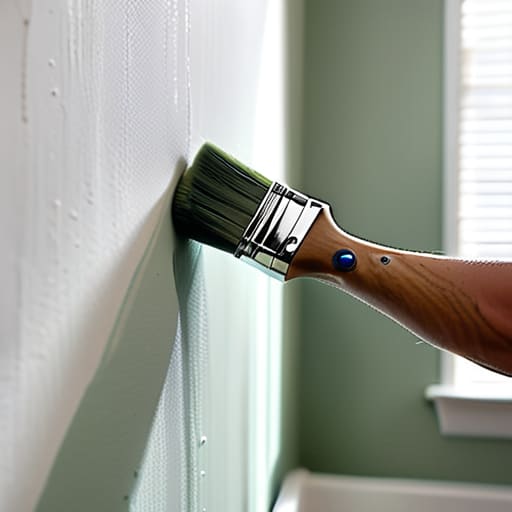
- 4. Before you even touch a brush to the wall, you need to “cut in.” This basically means painting the edges and corners where a roller just can’t reach. Use a 2-inch angled brush to trace along the ceiling line, the corners, and around the trim. Don’t try to do the whole room at once—just do one wall at a time so the “cut in” paint stays wet enough to blend seamlessly with the main coat.
- 5. Once the edges are prepped, it’s time to roll. Don’t go overboard with the paint; you want an even layer, not a thick, gloopy mess. Start in one corner and work in a “W” or “M” pattern to distribute the paint, then fill in the gaps. This keeps the coverage consistent. If you see streaks, don’t panic—just keep a steady rhythm and avoid overworking the paint once it starts to set, or you’ll end up with a weird texture.
- 6. Patience is the hardest part here, but you have to let the first coat dry completely before you even think about touching it with a second one. If you rush it, you’ll just pull the first layer right back off the wall. Check the can for the recommended drying time, grab a coffee, and let it do its thing. A second coat is usually what turns a “DIY attempt” into a finished, professional-looking space.
- 7. Finally, the most satisfying part: the cleanup. Peel that painter’s tape off while the paint is still slightly tacky—if you wait until it’s bone-dry and hard, you risk pulling chunks of your beautiful new color right off the wall. Wash your brushes with warm soapy water immediately so they don’t turn into expensive sticks, pack your tools away, and take a second to actually look at what you just accomplished.
Gathering Your Essential Painting Tools and Supplies Without Breaking the B
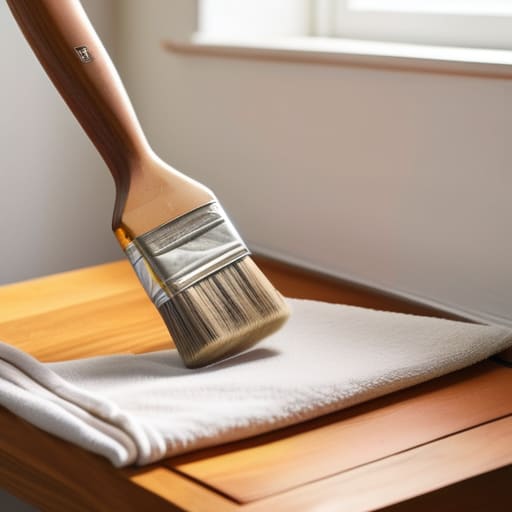
Look, I’ve been there—standing in the middle of a hardware store aisle, staring at a wall of brushes that all look exactly the same, wondering why one costs five dollars and the other costs twenty. Here’s the truth: you don’t need a professional-grade kit to get a clean finish, but you also shouldn’t cheap out on the stuff that actually touches the wall. When you’re calculating paint quantity for a room, remember that a little extra is better than a frantic mid-project run back to the store. Focus your budget on a decent angled brush and a high-quality roller cover; those are the tools that actually dictate your results.
For everything else, keep it practical. You can grab a basic tray, a bucket for cleaning, and some drop cloths—even old bedsheets from the thrift store work if you’re on a tight budget. If you’re worried about the mess, don’t skip the tape. Learning how to use painter’s tape correctly is probably the single best way to save yourself hours of frustration later. Just press it down hard with your finger to ensure a tight seal, and you’ll avoid those annoying bleeding lines that make a DIY job look amateur.
Mastering How to Prep Walls for Painting and Calculating Paint Quantity
Most people want to jump straight to the color, but if you skip the prep, you’re basically setting yourself up for a headache later. When it comes to how to prep walls for painting, the real work is in the cleaning and the patching. Grab a damp cloth to wipe away dust and cobwebs—paint won’t stick to grime. If you have small nail holes from old frames, fill them with a bit of spackle, let it dry, and sand it down until it’s smooth. You want the surface to feel seamless; otherwise, your new coat will just highlight every imperfection.
Once the walls are clean, it’s time to figure out how much liquid gold you actually need to buy. Don’t just guess based on the size of the room. You need to be smart about calculating paint quantity for a room by measuring the total square footage of your walls and subtracting the areas for windows and doors. A good rule of thumb is that one gallon covers about 350 to 400 square feet. I always recommend buying just a little bit more than my math says I need—it’s much better than running out halfway through the second coat.
5 Pro Moves to Save Your Sanity (and Your Walls)
- Don’t skip the primer, especially if you’re going from a dark color to a light one. I’ve learned the hard way that trying to cover a navy wall with three coats of “eggshell white” is just a fast track to an empty bank account and a headache.
- Work in small sections. Instead of trying to rush through a whole wall, roll in 3×3 foot patches. It keeps your edges wet and helps the paint blend seamlessly so you don’t end up with those weird “stop-and-start” lines when the light hits it later.
- Keep a damp rag in your back pocket at all times. You will drip, and you will get a speck on the baseboard. If you catch it while it’s still wet, it’s a five-second fix; if you wait until it dries, you’re back to sanding and repainting.
- Learn the “W” technique. When you’re using the roller, don’t just go up and down in straight lines. Move it in a large ‘W’ pattern to distribute the paint evenly, then fill in the gaps. It prevents those heavy clumps of paint that look amateur.
- Take your time with the edges. The “cutting in” part—painting the corners and around the ceiling with a brush—is the most tedious part, but it’s what makes the room look professional. Do it when you have a bit of extra energy, not when you’re exhausted and ready to call it a day.
The Bottom Line
Don’t skip the prep work; spending an extra hour cleaning and taping saves you three hours of frustration and expensive touch-ups later.
You don’t need the most expensive gear to get a good result, just the right basics—buy quality brushes, but skip the fancy gadgets you’ll only use once.
Measure twice, buy once. Calculating your square footage accurately is the easiest way to avoid that mid-project panic trip back to the hardware store.
## The Real Secret to a Good Finish
“Most people think the ‘magic’ is in the expensive brush or the perfect color, but the truth is, the paint only looks good because of the boring work you did before you even opened the can. If you respect the prep, the rest of the job practically does itself.”
Owen Silas Vance
The Final Coat
At the end of the day, painting a room isn’t about achieving some untouched, showroom perfection that you see on Pinterest. It’s about the process: cleaning those surfaces properly, getting your math right on the paint cans, and actually taking the time to tape off your edges so you aren’t scrubbing trim for three hours later. If you followed the steps, you’ve already done the hard part—the prep work is what separates a professional finish from a DIY disaster. Just remember to clean up your brushes immediately and let the rollers do the heavy lifting. Once that last corner is filled in, you’ll realize that the effort you put into the preparation is exactly why the room looks so much better than you expected.
I know it can feel overwhelming when you’re staring at a pile of drop cloths and half-empty cans, but don’t let the mess discourage you. This is how you build competence. Every time you tackle a project like this—whether it’s a fresh coat of sage green or fixing a wobbly thrifted chair—you’re proving to yourself that you don’t need a contractor to take care of your space. You’re taking ownership of your environment, one brushstroke at a time. So, take a step back, grab a drink, and just look at what you built with your own two hands. You earned it.
Frequently Asked Questions
How do I know if I actually need to prime the walls, or can I just go straight in with the color?
Look, I get it—adding a whole extra step feels like a waste of time and money. But here’s the reality: if you’re going from a dark color to a light one, or if you’re painting over a patch job or fresh drywall, you need primer. If you skip it, you’ll end up doing three coats of expensive color just to hide the old stuff. If the wall is clean and the color change is subtle? You’re probably fine to dive straight in.
What’s the best way to deal with those annoying little holes or cracks in the drywall without spending a fortune on professional patch kits?
Honestly, don’t bother with those overpriced, pre-mixed “pro” kits. Just grab a small tub of lightweight spackle and a cheap putty knife from the hardware store. For tiny nail holes, dab a little on, smooth it over, and let it dry. If it’s a bigger crack, you might need a bit of mesh tape first, but for most stuff, a little spackle and some patience will get you there. Keep it simple.
How do I prevent paint from getting all over my baseboards and floor if I don't want to spend hours taping every single inch?
Look, I get it. Taping every single inch of baseboard feels like a massive waste of time. If you want to skip the tape, grab a high-quality angled sash brush. The secret is in the “cut-in.” Load the brush, wipe the excess, and use short, controlled strokes right against the edge. It takes a little practice to get the steady hand, but once you do, you’ll save a fortune on tape and a lot of headache.