I was staring at a massive, blank white wall in my first studio apartment, feeling that familiar knot of anxiety because I couldn’t afford the $200 minimalist prints I saw on Instagram. Most people will tell you that you need a designer’s eye or a massive budget to fix a boring room, but that’s a total lie. I learned early on that you don’t need a massive inheritance to create a space that actually feels like home; you just need to stop waiting for permission to be creative. Learning how to make wall art isn’t about mastering fine arts or buying expensive canvases—it’s about taking what you already have and making it work for you.
In this guide, I’m stripping away the gatekeeping and showing you exactly how to build a gallery wall that looks intentional rather than cluttered. I’ll walk you through a few low-cost, high-impact methods that I use in my own place, from repurposing thrifted finds to simple DIY textures. No fluff, no expensive “must-have” kits, and definitely no pretension. We’re going to focus on practical, repeatable steps so you can stop staring at those empty walls and finally start making something that feels like yours.
Table of Contents
- Step-by-Step Instructions
- Essential Wall Art Materials for Beginners Without Breaking the Bank
- Mastering Modern Home Decor Diy Through Simple Textured Wall Art Methods
- Five Ways to Keep Your DIY Projects from Looking Like a Middle School Art Class
- The Bottom Line
- ## On Making It Yours
- Stop Waiting for the "Perfect" Space
- Frequently Asked Questions
Guide Overview
Tools & Supplies
- Paintbrush [various sizes for application]
- Palette knife [for textured effects]
- Pencil [for sketching designs]
- Canvas [1 piece]
- Acrylic paint [set of multiple colors]
- Gesso [1 bottle for priming]
- Modeling paste [1 jar for texture]
Step-by-Step Instructions
- 1. First, you need to decide on your medium. I’m not talking about buying a $200 canvas and feeling paralyzed by the blank space. Instead, look around your apartment or hit up a local thrift store. You could go with a simple framed print you found on sale, a piece of scrap wood from a project, or even some heavy-weight paper. The goal here is to pick something that doesn’t feel precious, so you aren’t afraid to actually mess it up.
- 2. Gather your supplies, but keep it realistic. You don’t need a professional studio; you just need the basics. If you’re doing something textural, grab some acrylic paint and a couple of cheap brushes. If you’re going for a more minimalist look, maybe just some high-quality masking tape or some command strips. I always keep a small kit of essentials in my utility drawer, so just grab what you need and don’t overspend on specialized tools you’ll only use once.
- 3. Map out your composition before you touch the actual surface. This is where people usually get stuck—they start painting and suddenly realize the whole thing looks lopsided. Grab a pencil or even just use your finger to sketch out a rough layout on the material. I like to play with shapes and lines first to see how they balance each other out. It’s much easier to erase a pencil line than it is to fix a permanent paint mistake.
- 4. Start applying your layers. If you’re using paint, start with your background colors and work your way forward. Don’t worry about making it look like a masterpiece; focus on coverage and texture. If you’re doing something more tactile, like arranging dried botanicals or fabric scraps, glue them down one by one. The key is to work slowly and let each layer dry if you’re using wet media, otherwise, you’ll just end up with a muddy mess.
- 5. Step back and evaluate. This is the part where your inner critic might start yelling, but ignore it. Walk to the other side of the room and look at your work from a distance. Does it feel balanced? Does it fit the vibe of the space where you’re going to hang it? If something feels “off,” it’s usually because a certain color is too loud or a shape is too heavy. Adjust as you go, but don’t feel like you have to perfect every single inch.
- 6. Seal and protect your work. If you’ve used paint or markers, a quick coat of matte varnish can make a huge difference in how professional it looks. It also protects the piece from dust and sunlight. If you’re working with something more raw, like wood or paper, just make sure it’s completely dry before you try to frame it. Taking this extra step ensures your hard work actually lasts longer than a few months.
- 7. Finally, get it on the wall. Don’t let your new art sit in a pile on the floor just because you’re unsure of where it goes. Use a level (or a leveling app on your phone) to make sure it isn’t crooked. Finding the right spot is about more than just filling a hole; it’s about creating a focal point that makes the room feel lived-in. Once it’s up, take a second to appreciate it—you made that yourself.
Essential Wall Art Materials for Beginners Without Breaking the Bank
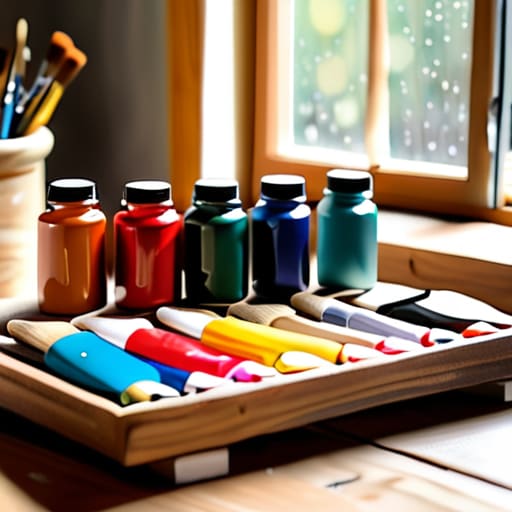
Look, you don’t need to drop a paycheck at a high-end craft store to get started. I’ve learned from my furniture restoration days that the best results usually come from knowing which cheap materials can actually perform. If you’re looking for wall art materials for beginners, start with the basics: acrylic paints, a few varying brush sizes, and some decent canvas boards. You can usually find these in bulk at discount retailers, which is way better for your wallet than buying individual pieces every time you get a new idea.
If you want to level up without spending more, focus on adding depth rather than buying expensive tools. I’m a big fan of textured wall art methods that use stuff you probably already have in your kitchen or junk drawer. A bit of joint compound from the hardware store or even some thick modeling paste can turn a flat, boring canvas into something that looks like a high-end gallery piece. It’s all about finding those budget friendly wall decor hacks that prioritize texture and dimension over a massive price tag.
Mastering Modern Home Decor Diy Through Simple Textured Wall Art Methods
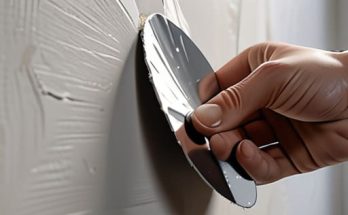
If you want to move past basic prints and actually give your space some soul, you need to look into textured wall art methods. Texture is the secret sauce that makes a piece look expensive and intentional rather than just something you slapped together on a Tuesday night. You don’t need a studio full of professional plaster; honestly, a tub of joint compound from the hardware store works wonders. By applying it unevenly with a putty knife or even an old comb, you create those deep ridges and shadows that catch the light. It’s one of the most effective modern home decor DIY hacks I’ve found for making a rental feel like a custom-designed loft.
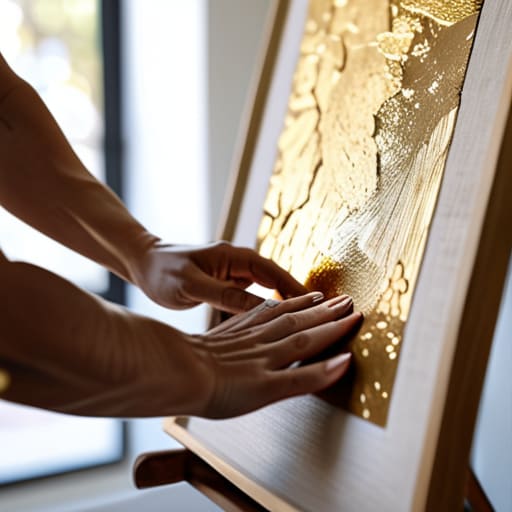
Once you have your base texture set, you can play with abstract canvas painting techniques to add depth. Instead of trying to paint a perfect landscape, focus on how colors bleed into one another over the ridges you created. I personally love using a sponge or a dry brush to hit only the high points of the texture, which makes the pattern pop without looking messy. It’s all about embracing the imperfections—that’s what gives the piece its character.
Five Ways to Keep Your DIY Projects from Looking Like a Middle School Art Class
- Don’t skip the prep work. If you’re painting or gluing something to a wall, take five minutes to wipe down the surface first. It sounds tedious, but nothing kills a project faster than a piece of art peeling off because of a layer of dust.
- Stick to a cohesive color palette. You don’t need a rainbow; in fact, you probably don’t want one. Pick two or three tones that actually exist in your living room so the art feels like it belongs there, rather than looking like it was an afterthought.
- Embrace the “ugly phase.” Every DIY project hits a point where it looks like a total mess halfway through. Don’t panic and throw it in the trash. Just step away, grab a coffee, and come back to it once the layers have dried or the glue has set.
- Scale is everything. A tiny, delicate print can look lonely and lost on a massive, empty wall. If you’ve got a big space, go bigger with your art or group a few smaller pieces together to create a gallery effect that actually fills the visual gap.
- Use what you already have. Before you run out to buy expensive frames, check your local thrift stores or even your own storage. A mismatched collection of vintage frames can actually look more intentional and “curated” than a set of identical plastic ones from a big-box store.
The Bottom Line
You don’t need a massive budget or a degree in fine arts to make your space look intentional; start with what you have and build from there.
Focus on texture and simple techniques rather than perfection—it’s the character of the piece that actually makes it feel like home.
The biggest hurdle is usually just starting, so pick one method, grab your supplies, and stop worrying about whether it’s “professional” enough.
## On Making It Yours
“Your walls shouldn’t look like a showroom catalog or a Pinterest board you’re trying too hard to replicate. Real decor is about the stuff you actually made—the imperfect, tactile, slightly messy projects that prove you actually live in your space instead of just posing in it.”
Owen Silas Vance
Stop Waiting for the "Perfect" Space
At the end of the day, making your own wall art isn’t about achieving some Pinterest-perfect masterpiece on your first try. It’s about knowing that you don’t need a massive budget or a professional studio to transform a blank, sterile wall into something that actually has some soul. We’ve covered how to scavenge for affordable materials, how to play with texture to get that high-end look, and how to keep your process simple. Whether you’re working with basic acrylics or experimenting with plaster, the goal is to stop overcomplicating the process and just start seeing what happens when you put your hands to work.
I know it can feel a little intimidating to hang something you made yourself, especially when you’re used to just buying whatever is on sale at a big-box store. But there is a specific kind of confidence that comes from looking around your apartment and knowing you actually built the environment you’re living in. Don’t let the fear of a “mistake” keep you from trying. If a texture looks wonky or a color feels off, just pivot—that’s part of the skill. Your home should be a reflection of your effort, not just a collection of stuff you bought. Now, go grab those supplies and just start doing it.
Frequently Asked Questions
I love the textured look, but how do I make sure the paint or plaster doesn't crack or peel off the wall after a few months?
That’s a fair concern—nothing kills the vibe like a DIY project literally falling apart. The secret is all in the prep and the bond. Never skip the primer; you need that “glue” between the wall and your texture. If you’re using heavy plaster, let it cure completely before painting. Most importantly, use a high-quality acrylic medium or a flexible additive to keep the texture from becoming brittle. Do it right once, and it’ll last.
What’s the best way to hang these DIY pieces if I’m renting and can’t go drilling huge holes into the drywall?
I feel your pain—I spent my first two years in a rental terrified of losing my security deposit. If your art isn’t heavy, Command Strips are your best friend; just make sure to clean the wall with rubbing alcohol first so they actually stick. For slightly heavier pieces, look into adhesive hooks or even small finishing nails. They leave tiny pinpricks that are a breeze to cover with a bit of spackle later.
If I mess up a design halfway through, is there a way to fix it without starting from scratch and wasting all my materials?
Look, I’ve been there. I once ruined a thrifted dresser mid-stain and felt like throwing the whole thing out. Don’t panic. If you’re working with paint or texture, you can usually layer over the mistake once it’s dry. If it’s a layout issue, try “distressing” it—lean into the mess to create a vintage, intentional look. If it’s truly unsalvageable, scrape it back or use a heavy-duty primer to reset. Don’t scrap the materials; just pivot.