I was halfway through a thrifted mid-century sideboard last Tuesday when I caught that familiar, sinking feeling in my gut—a deep, jagged gouge right across the grain where I’d slipped with a screwdriver. My first instinct was to panic and assume the piece was officially ruined, or worse, that I’d need to drop a paycheck on professional refinishing services. But here’s the truth: most people think a surface scratch is a death sentence for furniture, but that’s just gatekeeping. Learning how to fix scratched wood isn’t about having a workshop full of expensive machinery; it’s about knowing which small, tactical moves actually work when you’re working with limited tools and a tight budget.
I’m not here to sell you on some magical, expensive “miracle cream” that promises the world and delivers nothing. Instead, I’m going to walk you through the actual, grit-under-your-fingernails methods I use in my own apartment to make those marks disappear. We’re going to cover everything from the quick walnut trick for light scuffs to the proper way to sand out deeper damage without destroying the finish. My goal is to show you that you can restore your own stuff with just a little patience and the right steps. Let’s get to work.
Table of Contents
Guide Overview
Tools & Supplies
- Sandpaper (various grits for smoothing)
- Microfiber cloth (for cleaning dust)
- Wood filler (1 small container for deep scratches)
- Furniture touch-up marker or wax stick (1 set for color matching)
Step-by-Step Instructions
- 1. First, you need to figure out exactly what kind of damage you’re dealing with. Take a damp cloth and wipe down the area to clear away any dust or old wax that might mess with your progress. If the scratch is just a surface scuff, you might get lucky with a simple fix, but if you can actually feel the groove with your fingernail, you’re going to need to do a bit more heavy lifting.
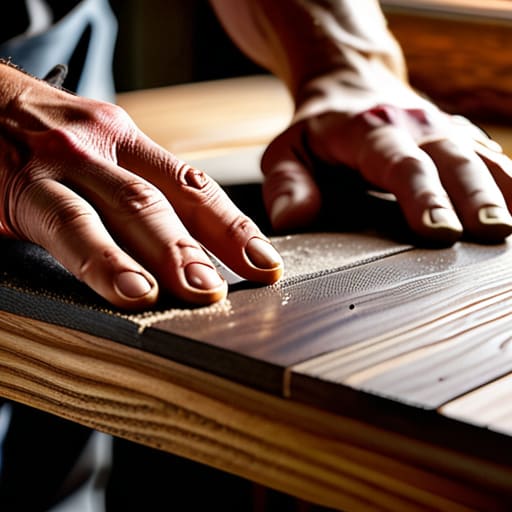
- 2. Grab a piece of fine-grit sandpaper—I usually go with 220 or 320—and start lightly sanding the area around the scratch. The goal here isn’t to strip the wood down to the raw grain, but to smooth out the jagged edges of the scratch so the repair material can actually sit flush. Just remember to sand in the direction of the wood grain; going against it is a quick way to create more work for yourself later.
- 3. If the scratch is deep enough to be a literal canyon in your tabletop, you’ll need to fill it. I recommend picking up a wood filler that closely matches your finish, or if you’re working on a piece I’d call “mid-century,” a bit of beeswax can work wonders. Apply the filler using a small putty knife, pressing it firmly into the scratch so it doesn’t leave air pockets underneath.
- 4. Once the filler has dried completely—and I mean completely—it’s time to sand it level. Use that same fine-grit sandpaper to gently buff the filler until it’s perfectly even with the rest of the surface. You want to run your hand over it and feel absolutely nothing; if you can still feel a bump, you aren’t finished sanding yet.
- 5. Now we need to bring the color back. If the scratch is still visible because the wood looks “pale,” you can use a furniture touch-up marker or even a tiny bit of diluted wood stain. I always tell people to test this on a hidden spot first, like the underside of a chair leg, because you don’t want to accidentally turn a small scratch into a permanent dark blotch.
- 6. The final, most important step is sealing the deal. Once your color looks right, apply a thin layer of furniture wax or a compatible clear coat to protect the repair and restore the original sheen. Buff it out with a clean microfiber cloth until it looks seamless. It won’t be “factory perfect,” but it’ll be functional and clean, which is exactly where we want to be.
Mastering Wood Filler Application Techniques Without the Stress
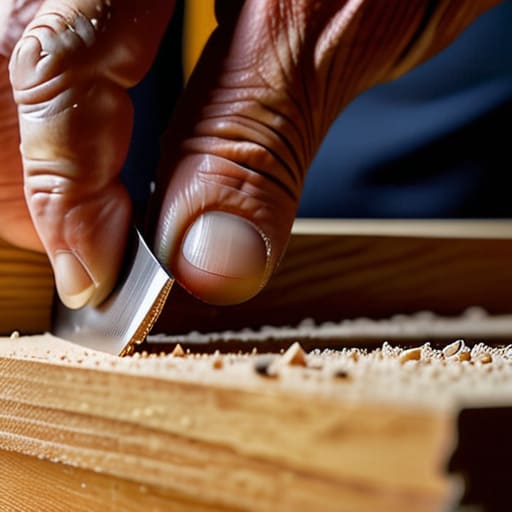
When you’re actually getting into the nitty-gritty of wood filler application techniques, the biggest mistake I see is trying to be too perfect on the first pass. It’s tempting to try and fill a deep gouge in one massive go, but that usually leads to a mess that’s impossible to sand down later. Instead, I’ve learned to work in thin, incremental layers. Think of it like building a foundation; you want to build up the volume slowly so you aren’t fighting a mountain of excess material when it’s time to sand.
Another thing to keep in mind is that filler behaves differently once it dries. It almost always shrinks slightly, so overfill the area just a hair to compensate. While you’re working, pay close attention to how your filler interacts with the surrounding area, especially if you’re aiming for a seamless look when matching wood stain colors later. If you rush this part, you’ll end up with a patch that looks like a different species of wood entirely. Take your time, keep your tools clean, and remember that patience is your best tool in the kit.
Matching Wood Stain Colors for a Flawless Result
This is where most people get nervous, but honestly, it’s just a bit of trial and error. When you’re matching wood stain colors, the biggest mistake is trying to pick the perfect shade straight out of the can. Wood is organic; it’s never one uniform color, and your goal isn’t to paint over it, but to blend with it. I always tell myself to grab a few scrap pieces of wood or even a hidden corner of the piece you’re working on. Apply a small amount, let it dry completely, and see how it actually looks under your room’s lighting.
If you’re restoring wood finish on an older piece, remember that the stain will soak into the wood differently depending on how much you’ve sanded. If you go too heavy with the pigment, you’ll end up with a dark blotch that screams “I tried too hard.” Instead, start lighter than you think you need to. You can always add more layers to deepen the tone, but you can’t take it back once it’s in the grain. Take your time—it’s better to spend an extra twenty minutes testing than to ruin a weekend of work.
Pro Tips to Save Your Sanity (and Your Furniture)
- Don’t skip the cleaning step; if there’s any old wax or furniture polish left in those scratches, your new stain or filler is going to slide right off like it’s on ice.
- Always test your color match on a hidden spot first—like the underside of a table or the back of a chair—because what looks right in the store usually looks totally different under your living room lights.
- Less is actually more when it comes to wood filler; I’ve learned the hard way that it’s much easier to add a second thin layer than it is to sand down a massive, messy mound of dried goop.
- Invest in a decent pack of assorted sandpaper grits rather than buying one cheap multi-pack; having the right coarseness makes the difference between a smooth finish and a surface that feels like tree bark.
- Work with the grain, not against it; if you start sanding across the lines, you’re just creating new scratches that will be a nightmare to hide later.
The Bottom Line
Don’t overthink the imperfections; most scratches are just surface-level battles that a little patience and the right grit can win.
Matching your stain is a science, but testing it on a hidden spot first is the real secret to avoiding a total disaster.
You don’t need a professional workshop to get professional results—just the right tools, a steady hand, and the willingness to get a little messy.
## The Mindset Behind the Repair
“A scratch isn’t a sign that your furniture is ruined; it’s just a reminder that it’s actually being used. Don’t let a few marks make you feel like you’ve failed at ‘adulting’—grab some sandpaper, take your time, and just fix it.”
Owen Silas Vance
Bringing It All Home
At the end of the day, fixing scratched wood isn’t about achieving some impossible, factory-perfect finish; it’s about the process of taking care of what you already own. We’ve covered the heavy lifting—from the initial sanding and the precision of applying wood filler to the slightly more nerve-wracking task of matching your stain so the repair actually disappears. It takes a bit of patience and a steady hand, but once you’ve mastered these basics, you stop seeing furniture as disposable and start seeing it as something you can actually maintain. Just remember to take your time with the drying phases; rushing the chemistry is the fastest way to turn a quick fix into a long-term headache.
I know it can feel intimidating to pick up a piece of sandpaper or a stain rag for the first time, especially when you’re worried about making things worse. But honestly? Most of the “experts” out there are just people who weren’t afraid to make a few mistakes along the way. Don’t let a few surface imperfections convince you that your furniture is junk or that you aren’t “handy” enough to handle it. You have the tools, you have the steps, and now you have the knowledge. So, clear off your workspace, grab your multi-tool, and just start doing it. You’ll be surprised at how much confidence you gain with every successful repair.
Frequently Asked Questions
What if I accidentally use too much wood filler and make the surface uneven?
Don’t panic—this happens to the best of us. If you’ve ended up with a mountain of filler instead of a smooth patch, just let it dry completely. Once it’s hard, grab your sandpaper and sand it back down until it’s flush with the surrounding wood. It’s much easier to sand away excess than to try and scrape wet filler off. Just take your time; patience is the most important tool in your kit.
Can I use these same methods on a piece of furniture that has a factory-made veneer?
Short answer: Yes, but you have to be way more careful. With veneer, you’re working with a paper-thin layer of real wood over something else—usually particle board. If you sand too aggressively or use too much moisture, you’ll sand right through the finish and hit the base layer, which is a nightmare to fix. Lighten up on the pressure, use fine-grit sandpaper, and keep your wood filler applications minimal. Precision over power here.
How long do I actually need to wait before I can start sanding or applying the stain?
I know the urge to jump straight to the next step is real, especially when you’re in the zone, but patience is your best tool here. If you’re using wood filler, wait until it’s bone-dry—usually a few hours, but check the container because some brands take longer. If you sand too early, you’ll just gum up your sandpaper. For stain, give it at least 24 hours to fully set. Let it breathe so you don’t ruin your hard work.