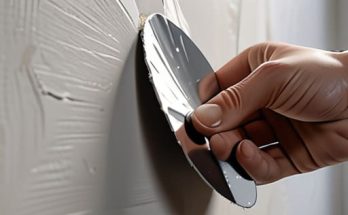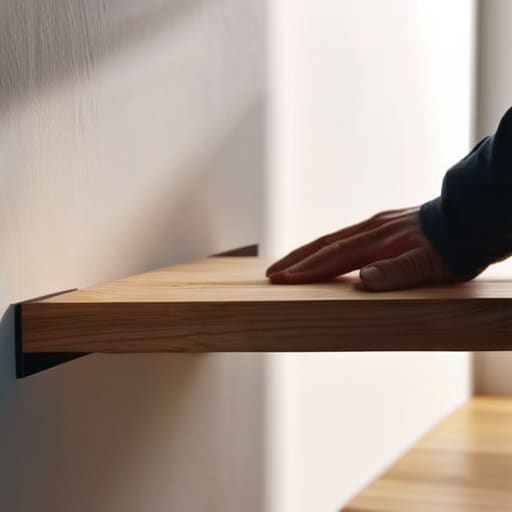
I remember standing in my first tiny rental, staring at a blank, beige wall and feeling completely defeated because I couldn’t find a single piece of decor that didn’t cost half my grocery budget. I wanted that clean, elevated look I saw on Pinterest, but everything felt either way too expensive or way too complicated for someone without a workshop. That’s when I realized that floating shelves diy isn’t actually about having a garage full of heavy machinery; it’s just about knowing which screws to use and not being afraid of a little sawdust. You don’t need a professional contractor to turn a dead corner into a functional display—you just need to stop overthinking the hardware.
In this guide, I’m stripping away the jargon and the “aesthetic-only” fluff to show you how to actually get this done. I’ll walk you through the essential tools, how to find your studs so your books don’t end up on the floor, and the simplest ways to finish the wood so it looks intentional, not amateur. This is a no-nonsense roadmap for building sturdy, stylish shelves that fit your budget and your space. Let’s get to work.
Table of Contents
- Step-by-Step Instructions
- Mastering Modern Floating Shelf Design Without the Guesswork
- Essential Woodworking Tools for Shelving You Actually Need
- Five Pro-Tips to Keep Your Shelves From Becoming a Disaster
- The Bottom Line on Your DIY Shelves
- The Real Value of a DIY Project
- Finishing the Job
- Frequently Asked Questions
Guide Overview
Tools & Supplies
- Drill/Driver for mounting brackets
- Level to ensure shelves are straight
- Saw for cutting wood to size
- Stud finder to locate wall supports
- Wood planks (2-3 pieces)
- Floating shelf brackets (1 set per shelf)
- Wood screws (1 box)
- Wall anchors (if no studs are available)
Step-by-Step Instructions
- 1. First, grab your materials. You’re going to need a solid piece of wood (I usually go for something like pine or oak if I’m feeling fancy), some heavy-duty floating shelf brackets, a drill, a level, and a stud finder. Don’t skip the stud finder; if you try to anchor these into just drywall, your collection of books is going to end up on the floor in about twenty minutes.
- 2. Once you’ve located your studs, mark them clearly with a pencil. You want to center your brackets directly over those studs to ensure the weight is actually being supported by the structure of the house. If your layout doesn’t line up perfectly with the studs, you’ll need to use high-quality toggle bolts, but honestly, hitting the studs is the only way to sleep soundly at night.
- 3. Now, it’s time to drill. Use a drill bit that matches the size of your bracket screws to create pilot holes. This prevents the wood from splitting and makes the actual driving of the screws much smoother. I always keep my multi-tool handy during this part just in case I need to quickly trim a stray bit of wood or tighten a loose screw.
- 4. Hold your first bracket up to the wall and use your level to make sure it’s perfectly straight. This is the part where most people get lazy, but if the bracket is even a tiny bit tilted, the shelf will look crooked forever. Once it’s level, mark the screw holes, drill your holes, and screw the bracket firmly into the wall.
- 5. Repeat that entire process for the second bracket. Make sure the distance between the two brackets is consistent with the length of your wood piece. I like to double-check my measurements twice before I commit to the drill, because once you put those holes in the wall, there’s no “undo” button.
- 6. Slide your wooden shelf onto the brackets. If you bought a pre-made floating shelf kit, it should slide on like it was meant to be there. If you’re using a custom piece of wood, you might need to sand the inside edges slightly so it fits snugly against the bracket hardware.
- 7. Give the shelf a gentle tug to make sure everything is secure. If it feels solid, you’re done. Take a second to wipe down any sawdust, place your items on it, and enjoy the win. You just saved yourself a hundred bucks and a trip to a big-box furniture store.
Mastering Modern Floating Shelf Design Without the Guesswork
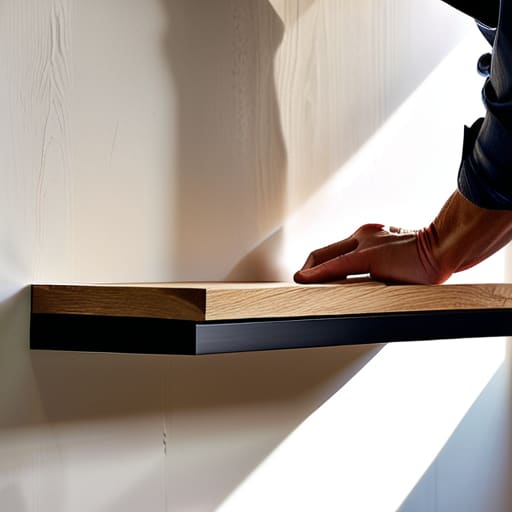
When you’re looking at a blank wall, it’s easy to get caught up in Pinterest-perfect photos and forget the actual physics of what you’re building. To nail a modern floating shelf design, you have to balance the aesthetic with the structural reality. I’ve learned the hard way that a shelf might look incredible, but if it’s sagging under the weight of a few heavy books, the whole vibe is ruined. My biggest piece of advice? Always prioritize mounting shelves to studs rather than relying solely on drywall anchors. If your layout doesn’t align perfectly with your studs, that’s when you invest in heavy-duty hidden shelf brackets to bridge the gap.
Don’t go overboard with the “more is more” approach either. Part of a clean, minimalist look is knowing exactly what your shelf can handle. Before you start decorating, check your shelf weight capacity tips—essentially, know the limit of your bracket system and your wood type. I usually aim for a “less is more” styling approach: a single ceramic vase, one trailing plant, and maybe a small stack of books. This keeps the lines clean and ensures your hard work stays level and secure for the long haul.
Essential Woodworking Tools for Shelving You Actually Need
Look, you don’t need a garage full of industrial machinery to get this right, but you do need the right basics. If you try to wing it with a dull handsaw and a cheap screwdriver, you’re going to end up with a crooked mess that looks more like a middle school art project than a piece of intentional decor. For a solid DIY wood shelf installation, my non-negotiable list starts with a decent cordless drill, a level (don’t even try to “eye it”), and a measuring tape that actually stays retracted. I’ve learned the hard way that skimping on the measuring tools is the fastest way to ruin an expensive piece of timber.
When it comes to the actual mechanics, your choice of hardware is what separates a professional look from a DIY disaster. If you’re aiming for that clean, seamless aesthetic, investing in high-quality hidden shelf brackets is a game changer. They do the heavy lifting behind the scenes so you can focus on the wood grain. Just remember: regardless of how good your tools are, the real secret to longevity is mounting shelves to studs rather than relying on drywall anchors. If you don’t hit a stud, that shelf isn’t going to hold your books for long.
Five Pro-Tips to Keep Your Shelves From Becoming a Disaster
- Don’t trust your eyes alone; always use a level. I’ve seen too many “aesthetic” shelves that look like they’re sliding off the wall because someone eyeballed the line. Even a tiny tilt becomes painfully obvious once you actually put a book or a plant on it.
- Check for studs before you even touch a drill. If you aren’t hitting a stud, you better be using heavy-duty toggle bolts. Relying on cheap plastic drywall anchors is a recipe for a midnight cleanup session when your decor hits the floor.
- Sand more than you think you need to. If you’re going for that smooth, mid-century look, don’t just stop at medium grit. Go up to a fine grit and sand until the wood feels like silk; it makes the stain look professional instead of blotchy.
- Test your weight capacity with something heavy first. Before you move your entire collection of expensive ceramics onto the shelf, stack some heavy textbooks there for a day. If there’s any bowing or movement, you need to rethink your mounting strategy.
- Keep your scraps. When you’re cutting your wood to size, don’t just toss the offcuts. Those little pieces are perfect for making matching coasters or small risers, which helps keep your DIY project feeling cohesive without spending extra cash.
The Bottom Line on Your DIY Shelves
Don’t let the fancy tool lists scare you off; focus on the basics like a level and a solid drill, and you’ll be fine.
Prioritize the math over the aesthetic—if your measurements are off by even a fraction, nothing is going to look “minimalist,” it’s just going to look crooked.
View this as a long-term investment in your space rather than a weekend chore; a well-built shelf saves you from buying cheap, disposable decor every year.
The Real Value of a DIY Project
“At the end of the day, it’s not just about getting some wood onto a wall; it’s about the quiet confidence that comes from knowing you don’t need to wait for a professional to make your space feel like home.”
Owen Silas Vance
Finishing the Job
At the end of the day, building your own floating shelves comes down to three things: picking the right wood, getting your measurements dead-on, and not letting a little bit of sawdust intimidate you. You don’t need a professional-grade workshop to get this right; you just need the basic tools we talked about and a bit of patience when it comes to the leveling process. Remember, it’s better to measure twice and cut once than to spend your entire Saturday trying to fix a crooked shelf that’s pulling away from the drywall. Once those brackets are secure and your wood is sanded smooth, you’ve officially moved from just “living in a space” to actually curating your environment.
I know that staring at a pile of lumber and a set of tools can feel a bit overwhelming if you didn’t grow up with a hammer in your hand. But that’s the whole point of doing this. Every time you fix something or build something yourself, you’re stripping away that feeling that you aren’t “ready” for adulthood. You’re proving to yourself that you can handle the small stuff, which eventually makes the big stuff feel a lot more manageable. So, grab your multi-tool, clear off your workspace, and just start doing it. Your walls—and your bank account—will thank you.
Frequently Asked Questions
How much weight can these shelves actually hold before they start pulling out of the drywall?
Look, I’ve seen too many people try to turn their floating shelves into heavy-duty bookcases, and that’s usually when things go sideways. If you’re just using drywall anchors, you’re looking at maybe 10–15 lbs tops—think a couple of small succulents or a single paperback. If you want to actually use them for real books or heavy ceramics, you have to hit a stud. If you hit wood, you’re solid; if you’re just in drywall, don’t push it.
Do I really need to find a stud for every single shelf, or is there a way to do this safely if my layout doesn't line up?
Look, if you can hit a stud, do it. That’s the gold standard for a reason. But I get it—life doesn’t always align with your wall studs. If you’re stuck between them, don’t just wing it with cheap plastic anchors; they’ll fail eventually. Invest in some heavy-duty toggle bolts. They grip the back of the drywall and can hold a surprising amount of weight. Just be careful when patching the holes later.
What’s the best way to hide the mounting hardware so the shelf looks like it’s actually floating and not just hovering awkwardly?
The trick is all in the internal support. To get that true “weightless” look, skip the cheap L-brackets and use heavy-duty floating shelf brackets—basically metal rods that screw directly into your studs. You drill deep holes into the back of your wood so the rods slide inside. Once the shelf is seated, the hardware is completely swallowed by the wood. No visible screws, no awkward hovering, just clean lines. It’s worth the extra drilling.