I was staring at a jagged, blackened strip of moldy silicone in my first apartment, wondering if I actually needed to call a professional or if I was just going to end up making a massive, expensive mess. Most people think you need a steady hand like a surgeon or a thousand dollars in specialized tools to fix a leaky tub, but that’s a lie. The truth is, learning how to caulk isn’t about being an artist; it’s just about understanding the physics of the bead and having the right patience to smooth it out. I spent way too much time in my early twenties feeling intimidated by basic home maintenance, but once I realized it was just a mechanical process, everything changed.
In this guide, I’m stripping away the jargon and the intimidating hardware store aisles to give you a straight shot at a clean finish. I’ll walk you through exactly which materials you actually need, how to prep the surface so the new stuff actually sticks, and my personal trick for getting that perfect line without the panic. We aren’t aiming for a museum-grade masterpiece here—we’re aiming for a watertight, professional seal that looks great and actually does its job. Let’s just get it done.
Table of Contents
Guide Overview
Tools & Supplies
- Caulk gun for applying sealant
- Caulk removal tool or utility knife for stripping old material
- Paper tape for creating clean edges
- Caulk tube (silicone or acrylic depending on surface)
- Cleaning solution or rubbing alcohol for surface prep
- Damp cloth for smoothing and cleanup
Step-by-Step Instructions
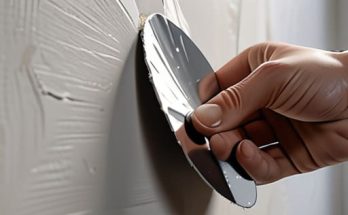
- 1. First things first, you have to clear the deck. If you’re working on an old tub or a backsplash, there’s probably some crusty, peeling old caulk in the way. Don’t try to layer new stuff over the old; it won’t stick and you’ll be back here in a month. Grab a putty knife or a dedicated caulk removal tool and scrape it all out until you have a clean gap. Once the old stuff is gone, wipe the area down with some rubbing alcohol to get rid of any oils or soap scum.
- 2. Next, you need to prep your tube. I know it seems simple, but don’t just hack at the tip with a knife. Use a utility knife to cut the nozzle at a 45-degree angle, and keep the hole relatively small. If the hole is too big, you’re going to end up with a massive, uncontrollable bead of goop that looks like a crime scene. I usually start with a tiny opening and always make a test bead on a piece of cardboard first to see how the flow feels.
- 3. Now, grab your caulk gun and get into position. Hold the gun at that same 45-degree angle and aim for the corner of the gap. The secret to a smooth line is consistent pressure. Don’t pump the trigger like you’re trying to win a race; instead, try to maintain a steady, even squeeze as you pull the gun toward you. Think of it like drawing a single, continuous line rather than a series of dots.
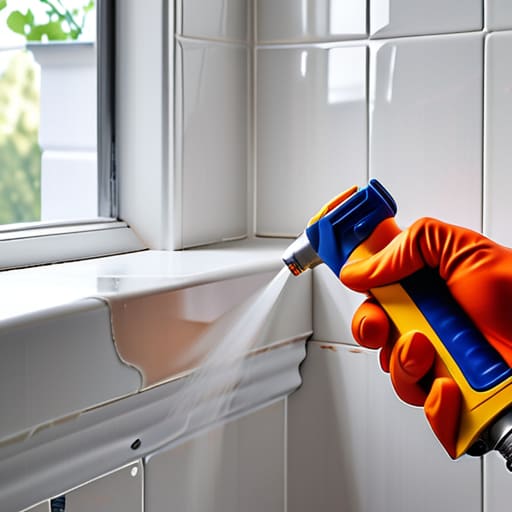
- 4. Once you’ve laid down your bead, it’s time for the most satisfying (and nerve-wracking) part: the smoothing. Don’t let it sit there and get crusty. Grab a small container of water or a spray bottle with a bit of soapy water and dip your finger in it. Lightly run your finger along the bead to press it into the gap and flatten the top. If you do this right, you’ll create a seamless transition between the surface and the sealant.
- 5. If you realize you made a mess, don’t panic and don’t try to wipe it all off with a dry rag. That just smears the gunk everywhere. Keep a damp cloth handy to clean up the excess immediately while it’s still wet. If you’ve gone too far, just wipe it clean and go back over that section once the surrounding area has settled a bit.
- 6. Finally, the hardest part for anyone living in a busy apartment or house: leave it alone. Most silicone caulks need anywhere from 24 to 48 hours to fully cure. I know it’s tempting to test the seal by running the shower or splashing water on the sink, but resist the urge. If you disturb it while it’s setting, you’ll ruin the bond and have to start the whole process over from step one.
Mastering the Basics Silicone vs Acrylic Caulk
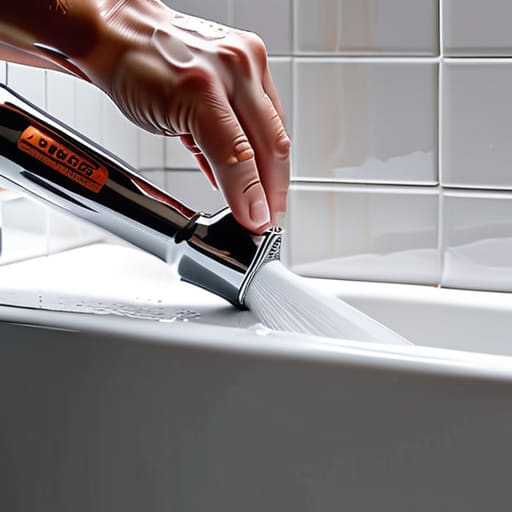
Before you even squeeze the trigger on your caulk gun, you need to know what you’re actually holding. I used to think all tubes of sealant were created equal, but grabbing the wrong one is a fast track to a DIY headache. If you’re caulking bathtub seams or anything that’s going to be constantly soaked, you need silicone. It’s waterproof, flexible, and won’t crack when the tub shifts slightly under your weight. The downside? It’s a bit of a nightmare to clean up if you mess up, so precision is everything.
On the flip side, if you’re caulking window frames or baseboards where you plan on painting over the seam later, go with acrylic. It’s much more forgiving and easier to work with for beginners, but it isn’t as water-resistant as silicone. My rule of thumb is simple: if it gets wet, use silicone; if it needs to look pretty and match your wall paint, use acrylic. Knowing the difference between silicone vs acrylic caulk is the easiest way to make sure your hard work actually lasts.
Removing Old Caulk Without the Stress
Look, I get it. The thought of scraping out old, moldy gunk feels like a chore you’d rather skip, but if you don’t do it, your new bead is going to look terrible and won’t actually stick. When I’m removing old caulk from a project, I don’t just dive in blindly. Start by using a utility knife or a specialized caulk removal tool to slice along the edges of the existing bead. You want to break the seal without gouging the tub or the tile underneath. If you’re working on something like caulking window frames, take it slow; you don’t want to accidentally slice through a seal or damage the frame.
Once the bulk of the material is out, the real work begins: the cleanup. Even if it looks clear, there’s usually a thin film of residue left behind. Grab a plastic scraper or a stiff nylon brush to get into the corners. I always keep a bottle of rubbing alcohol in my kit to wipe down the area once I’m finished scraping. Getting that surface surgically clean is the only way to ensure your fresh application stays put for years.
Pro Moves to Save You from a Total Mess
- Don’t skip the painter’s tape. If you aren’t confident in your steady hand, lay down two strips of tape—one on each side of the gap—before you even touch the caulk gun. It’s the easiest way to get those crisp, straight lines that make a DIY job look professional instead of amateur.
- Cut your nozzle at a 45-degree angle and keep it small. I’ve seen people cut massive holes in their tubes thinking it makes the job faster, but it just leads to a giant, uncontrollable blob. Start small; you can always make the hole bigger, but you can’t make it smaller once it’s cut.
- Use a wet finger for the smoothing pass. Once you’ve laid down a bead, dip your index finger in a little bit of soapy water (or just plain water) and lightly run it along the line. This helps press the caulk into the gap and smooths out the surface without it sticking to your skin.
- Keep your gun moving at a constant speed. The biggest mistake I see is people stopping to think mid-bead. If you hesitate, you’re going to end up with a bump. Treat it like a steady, continuous motion—just keep that pressure consistent from start to finish.
- Clean your tools immediately. If you’re using acrylic caulk, don’t let it sit on your hands or your tools. Once it cures, it’s a nightmare to get off. Keep a damp rag nearby to wipe down the tip of the gun and your fingers as you go so you aren’t fighting dried crust later.
The Bottom Line on Getting it Done
Pick the right tool for the job—use silicone for wet areas like showers where you need a waterproof seal, and stick to acrylic for baseboards or spots that might need a touch-up later.
Preparation is 90% of the battle; if you don’t take the time to scrape out the old gunk and wipe the surface clean, your new bead is going to peel off within a month.
Don’t aim for perfection on your first pass; just focus on a steady hand and a clean line, and remember that a damp finger is your best friend for smoothing out the mess.
The Mindset Shift
“Caulking isn’t about achieving some flawless, Pinterest-perfect line on your first try; it’s about sealing the gaps so your home stays dry and your wallet stays full. It’s a small, messy task that prevents much bigger, expensive headaches down the road.”
Owen Silas Vance
Don't Let the Mess Stop You
At the end of the day, caulking isn’t about achieving some flawless, magazine-ready perfection on your first try. It’s about knowing that you’ve successfully sealed the gaps that lead to water damage and expensive repairs down the line. We’ve covered the essentials: picking the right material, whether that’s the flexibility of silicone or the paintability of acrylic, and the tedious but necessary job of scraping away the old, crusty residue. If your lines aren’t perfectly straight right away, don’t sweat it. Just remember that consistency and patience matter way more than a single, perfect bead of sealant.
I know that staring at a messy, moldy tub can feel overwhelming, especially when you’re already juggling a million other things. But there is a specific kind of quiet satisfaction that comes from fixing something with your own two hands. You aren’t just preventing a leak; you’re taking ownership of your space. Every time you tackle a small DIY task like this, you’re proving to yourself that you don’t need to call a professional for every little thing. So, grab your multi-tool, get your supplies ready, and just start doing it. You’ve got this.
Frequently Asked Questions
How do I know if I'm applying too much or too little caulk while I'm actually doing it?
It’s a balancing act, honestly. If you’re seeing huge ridges or a massive pile of goo building up on your finger, you’re overdoing it—you’re just wasting money and making a mess. If the gap looks thin or you can see the old surface underneath, you’re too light. You want a smooth, continuous bead that fills the gap entirely but doesn’t overflow. Aim for a consistent line that looks like it’s actually “sealing” rather than just sitting on top.
Can I caulk over a surface that is still slightly damp, or do I need to wait until it's bone dry?
Short answer: Don’t do it. I know it’s tempting to just power through when you’re in the zone, but if that surface is even slightly damp, the caulk won’t bond properly. You’ll end up with peeling, bubbling, or a total failure in a few weeks, and then you’re back to square one. Grab a towel, hit it with a hairdryer if you’re in a rush, and wait until it’s bone dry. Trust me.
What’s the best way to clean up the excess mess if I slip up and get it all over the tiles?
Look, we’ve all been there. You’re mid-bead, your hand slips, and suddenly there’s a glob of silicone where it definitely shouldn’t be. Don’t panic and don’t try to wipe it with a dry rag—that just smears the mess into the grout. Grab a paper towel and wipe up the bulk of it immediately. If it’s already starting to skin over, use a little rubbing alcohol on a cloth to clean the residue.