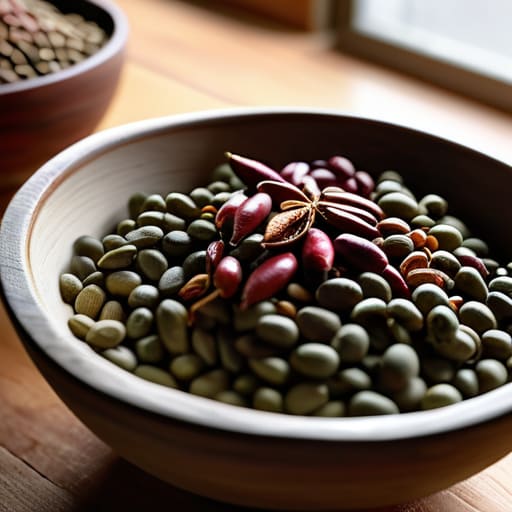
I remember sitting in my tiny kitchen back in college, staring at a bag of dried chickpeas and a recipe that required three different types of expensive spices and a pressure cooker I couldn’t afford. It felt like everyone was making a massive production out of something that should be basic, gatekeeping the simplest way to eat well. Honestly, if you’re still intimidated by the idea of how to cook beans and lentils because of some influencer’s “aesthetic” kitchen setup, you’re being lied to. You don’t need a culinary degree or a massive grocery budget to master these; you just need to understand the fundamental mechanics of how they actually work.
I’m not here to give you a lecture or a list of twenty ingredients you’ll never use again. Instead, I’m going to show you the exact, repeatable methods I use to keep my pantry stocked and my meals filling without breaking the bank. We’re going to strip away the fluff and focus on the real-world steps—from soaking to seasoning—so you can stop overthinking and just start cooking. Let’s get into it.
Table of Contents
Mastering Soaking Dried Legumes Without the Stress
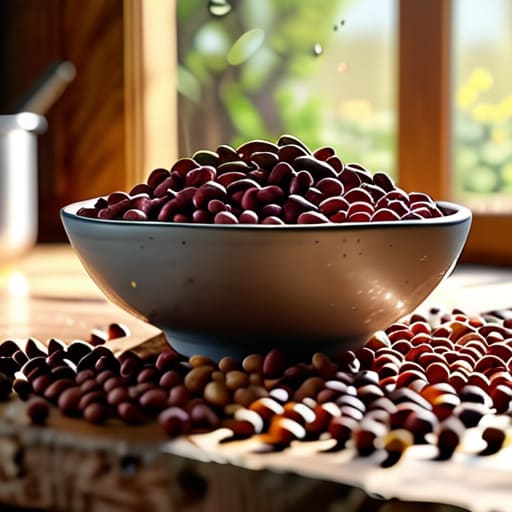
Look, I get it. Seeing a bag of hard, dried beans can feel a bit daunting when you’re hungry right now. But if you want to skip the mushy texture and the dreaded bloating, soaking dried legumes is non-negotiable. I used to skip this step when I was rushing between classes, and let’s just say my digestive system paid the price. One of the best ways to handle this is the overnight soak: just dump them in a bowl of water, let them sit for 8 to 12 hours, and drain them before cooking.
If you’re short on time, don’t panic. You can use the “quick soak” method by bringing the beans to a boil for about two minutes, then taking them off the heat and letting them sit covered for an hour. This is a lifesaver for preventing gas when eating beans because it helps break down those complex sugars that cause trouble later. Whether you’re prepping for a slow simmer or using a pressure cooker, taking these few extra minutes now means you won’t be staring at a pot of crunchy, undercooked beans later.
Stovetop Legume Preparation and Realistic Cooking Times
Once you’ve finished soaking, it’s time to actually get them on the heat. I know looking at a bag of dried beans can feel a bit intimidating because everyone seems to have a different rule, but stovetop legume preparation is mostly about patience and paying attention to texture. Start by placing your beans in a heavy-bottomed pot and covering them with at least two inches of fresh water. Bring that to a boil, then immediately drop the heat to a low simmer. If you try to rush this by cranking the heat, you’ll end up with beans that are mushy on the outside but still chalky in the middle—and nobody wants that.
The tricky part is that cooking times for different beans vary wildly. While red lentils might be ready in fifteen minutes, a hearty kidney bean or garbanzo could take an hour or more. I always keep a small timer nearby to check in on them every twenty minutes. A pro tip for my fellow budget-conscious cooks: don’t salt the water right at the start, as it can sometimes toughen the skins; wait until they’re nearly tender. Just keep an eye on the water level, add more if it gets low, and let the process happen naturally.
5 Small Tweaks for Better Beans
- Don’t cook them in plain water if you can help it. Toss a bay leaf, a smashed garlic clove, or even a piece of kombu into the pot. It adds a layer of flavor that makes them feel like a real meal rather than just a side dish.
- Keep an eye on the salt. I used to salt my beans right at the start because I thought it helped them soften, but it can actually make the skins tough. Wait until they’re mostly tender before you go heavy on the seasoning.
- Use your leftovers for more than just reheating. If you end up with extra cooked lentils, throw them into a salad or blend them into a soup. It’s way easier than starting from scratch on a Tuesday night when you’re exhausted.
- Watch the texture, not just the timer. Every brand and every pot is different. A timer is a good baseline, but your taste buds are the real experts. Start testing them about 15 minutes before you think they’ll be done so you don’t end up with mush.
- Acid is your best friend at the finish line. If your beans taste a little “flat” or heavy, don’t just add more salt—add a squeeze of lemon or a tiny splash of vinegar. That brightness cuts through the starch and actually wakes up the flavor.
The Bottom Line for Your Next Batch
Don’t skip the soak; it’s the difference between a texture that’s mushy or tough and one that’s actually enjoyable to eat.
Trust the process, not the clock—legumes are finicky, so taste them frequently once you’re in the home stretch to avoid overcooking.
Keep it simple and cheap; a bag of dried beans is the ultimate budget hack for filling your pantry without draining your bank account.
The Real Secret to a Good Pantry
“Forget the expensive canned stuff; once you stop being intimidated by a bag of dried lentils and realize they just need a little patience and some time on the stove, you’ve basically unlocked a cheat code for eating well on a budget.”
Owen Silas Vance
Getting It Done
Look, I know it feels like a lot when you’re staring at a bag of dry lentils and a kitchen timer, but it really boils down to a few simple habits. If you remember to soak your beans overnight to save yourself the headache of uneven cooking, and you keep a close eye on your stovetop to respect those realistic cooking times, you’ve already won half the battle. You don’t need fancy equipment or a culinary degree to get this right; you just need to respect the process and give the legumes the time they actually need to soften up. Once you nail these basics, you’ll stop seeing dried goods as a chore and start seeing them as the most reliable tool in your pantry.
At the end of the day, my goal isn’t to turn you into a professional chef, but to help you feel like you actually have a handle on your own kitchen. Cooking from scratch like this is one of those small, practical wins that builds real confidence. It’s about taking control of what you eat and how you spend your money, one pot at a time. Don’t worry if your first batch is a little too soft or takes an extra twenty minutes; just keep showing up. Competence is a muscle, and every time you boil a pot of beans, you’re getting stronger. Now, go get cooking.
Frequently Asked Questions
Do I really need to add salt to the water while they're cooking, or will that make the skins tough?
That’s a classic myth, and honestly, I used to worry about it too. But no, you won’t ruin the texture. Adding salt to the cooking water actually helps season the bean all the way to the center, rather than just coating the outside. If you wait until the end, you’re just salting the surface. Just don’t go overboard too early—add a decent amount, let them cook, and adjust to taste later.
Can I just use canned beans if I'm in a rush, or am I totally losing out on flavor and texture?
Look, I get it. Some days you’re staring at a pile of dry lentils and all you want is to sit down. You aren’t “losing out” if you use canned beans; you’re just choosing convenience. They’ll be softer and a bit saltier, but they work. My trick? Drain them, rinse them well to get rid of that metallic canned taste, and add your own aromatics—like garlic or smoked paprika—to bring the flavor back to life.
How do I know when a bean is actually done without constantly checking it every five minutes?
The “constant checking” habit is exactly how you end up with mushy beans or, worse, a pot of rocks. Honestly, the best way to know is the “smush test.” Grab a single bean with a spoon, let it cool for a second, and press it against the roof of your mouth or between your fingers. It should be creamy all the way through with zero grainy center. If it resists, give it ten more minutes.