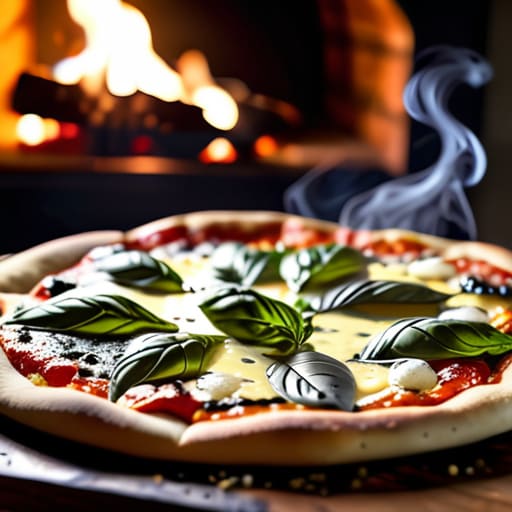
You don’t need a $500 stone oven or a degree in fermentation science to make a decent pie. For a long time, I fell for the myth that if I didn’t have professional-grade gear, I was doomed to eat soggy, cracker-thin disasters. I spent way too much money on specialized kits before realizing that the real secret to how to make homemade pizza isn’t about the equipment; it’s about understanding how heat and moisture actually work in a standard kitchen. I learned that through a lot of flour-covered floors and a few burnt crusts in my tiny apartment, but I finally figured out the low-tech shortcuts that actually work.
I’m not here to sell you on a lifestyle you can’t afford or a recipe that requires a forty-eight-hour prep time. Instead, I’m going to show you how to strip away the pretension and get straight to the edible part. I’ll walk you through a reliable, no-nonsense method that uses what you already have in your pantry. By the end of this, you’ll have the confidence to stop ordering takeout and start mastering your own kitchen with a crust that’s actually worth the effort.
Table of Contents
Recipe Details
Ingredients
- 2 cups All-purpose flour
- 1 teaspoon Active dry yeast
- 3/4 cup Warm water
- 1 teaspoon Salt
- 1/2 cup San Marzano tomato sauce
- 1 cup Fresh mozzarella cheese
- 4 leaves Fresh basil
Recipe Instructions
Step 1
First, we need to get the dough moving. Grab a large bowl and mix about 3 and a half cups of flour, a teaspoon of salt, and a packet of instant yeast. Slowly pour in a cup of warm water—not hot, or you’ll kill the yeast—and a splash of olive oil. Mix it until it’s a shaggy mess, then dump it onto a floured surface and knead it for about 10 minutes. It’s a workout, but you’re looking for that smooth, elastic texture that doesn’t stick to your hands.
Step 2
Once the dough is smooth, tuck it into a lightly oiled bowl and cover it with a damp kitchen towel. Now comes the hard part: waiting. Find a warm, draft-free spot in your kitchen and let it rise for about an hour or until it has doubled in size. If you’re in a rush, don’t stress; even a slightly smaller rise will still give you a decent crust, as long as you don’t skip the kneading.
Step 3
While the dough is doing its thing, preheat your oven as high as it will go—usually around 475°F or 500°F. If you have a pizza stone, put it in now so it gets screaming hot. I usually just use a standard baking sheet, but I like to flip it upside down to create a flatter surface that’s easier to work with. A hot surface is the secret to avoiding that sad, soggy middle we all hate.
Step 4
Punch the risen dough down to get the air out and divide it into two balls if you want individual pizzas. Instead of using a rolling pin—which can sometimes crush all those lovely air bubbles—use your hands to stretch it out on a piece of parchment paper. Aim for a rustic, slightly uneven shape; perfection is overrated and a little character makes it feel more authentic.
Step 5
Now, layer on your toppings, but keep it simple. I usually go with a thin layer of crushed canned tomatoes, some shredded mozzarella, and whatever is in my fridge. The golden rule here is don’t overload it. If you pile on too much sauce or cheese, the dough won’t cook through properly and you’ll end up with a heavy, wet mess instead of a crisp slice.
Step 6
Slide your parchment paper with the pizza directly onto your hot baking sheet or stone. Bake it for about 10 to 15 minutes, or until the crust is golden-brown and the cheese is bubbling with those little toasted spots. Let it sit for just a minute before slicing so the cheese doesn’t slide off, and then get to eating.
Mastering the Best Pizza Dough Recipe and Yeast Fermentation Process
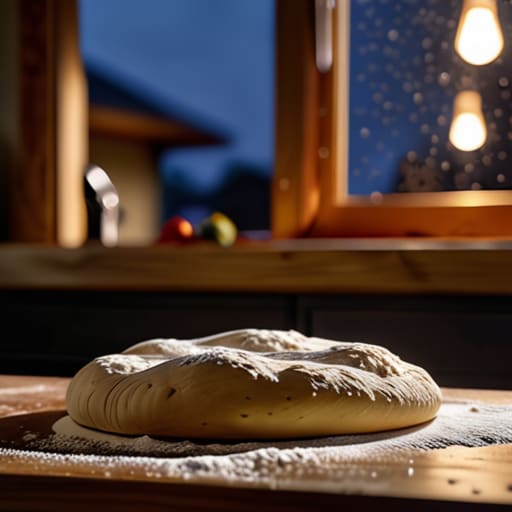
The real secret to the best pizza dough recipe isn’t some expensive Italian flour; it’s actually just patience. Most people want to eat ten minutes after mixing the flour, but if you want that airy, bubbly crust, you have to respect the yeast fermentation process. I used to rush this when I first started living on my own, only to end up with a dense, cracker-like disc. If you have the time, let your dough sit in the fridge overnight. This “cold ferment” develops a much deeper flavor profile and makes the dough way easier to handle.
When you’re ready to cook, don’t get discouraged if the dough fights you. I’ve spent way too many evenings wrestling with a stubborn ball of dough, but once you master a few stretching pizza dough techniques—like using your knuckles instead of a rolling pin—it becomes second nature. Also, if you aren’t using a dedicated stone, make sure your oven is screaming hot. A high heat is the easiest way to get those crispy pizza crust tips without needing a professional setup.
The Real Way to Use Homemade Pizza Sauce Ingredients
Look, you don’t need a complex, simmered-for-hours marinara to make a great pie. In fact, if you’re aiming for that authentic Neapolitan vibe, the secret is actually doing less. Most of the best spots I’ve visited use a raw sauce approach. They take high-quality canned San Marzano tomatoes, crush them by hand (or with a fork if you’re feeling lazy), and add nothing but a pinch of sea salt and maybe a splash of olive oil. When that sauce hits a high-heat environment, it cooks in the oven rather than on the stove, preserving that bright, acidic punch that cuts through the heavy cheese.
If you prefer a more cooked, savory profile, you can go the traditional route, but keep your homemade pizza sauce ingredients simple. I usually toss in some dried oregano and a little smashed garlic, but I avoid adding sugar—it’s a trap that makes the sauce taste like cheap jarred stuff. Just remember: the sauce should complement your dough, not drown it. If you’ve spent time perfecting your best pizza dough recipe, the last thing you want is a watery sauce turning your crust into a soggy mess. Keep it thick, keep it fresh, and let the quality of the tomatoes do the heavy lifting.
Five Ways to Stop Making "Sad" Pizza
- Crank that heat. Your home oven isn’t a professional wood-fired brick oven, so you have to compensate. Turn it up as high as it will go—usually around 500°F—and let it preheat for at least forty-five minutes. If you have a pizza stone or steel, that needs to be in there getting scorching hot before the dough even touches it.
- Don’t drown the dough. It’s tempting to load up on sauce and cheese because it looks better in photos, but too much moisture is the enemy of a crisp crust. If your toppings are heavy or watery, you’ll end up with a soggy, limp middle that collapses the second you lift a slice. Less is almost always more here.
- Room temperature is your friend. If you’re working with dough straight out of the fridge, it’s going to fight you. It’ll snap back when you try to stretch it, leaving you with a thick, uneven disc. Let it sit on the counter for at least an hour so the gluten relaxes; it makes the shaping process way less frustrating.
- Use a little oil, not just flour. When you’re stretching your dough, a light dusting of flour is fine, but a tiny bit of olive oil on your hands or the work surface can help prevent sticking without making the dough feel gummy. It also helps get those little charred bubbles on the crust that make it taste professional.
- Prep your toppings before you start. This isn’t a “cook as you go” situation. Once that dough is stretched and the oven is screaming hot, you have a very narrow window to get everything on there before the crust starts setting. Slice your peppers, grate your cheese, and have your sauce ready to go so you aren’t scrambling while your oven loses heat.
The Bottom Line on Better Pizza
Don’t get hung up on fancy equipment; a decent oven and a little patience with your dough fermentation will do more for your crust than a $500 pizza stone ever could.
Keep your sauce simple. When you’re using quality ingredients, you don’t need to cook them into submission—let the fresh tomato flavor do the heavy lifting.
Cooking is a skill, not a talent. Your first pizza might not look like a professional photo, but as long as you nail the process, it’s going to taste better than delivery.
## The Philosophy of the Crust
“Making pizza at home isn’t about chasing a Michelin star or perfecting a professional oven; it’s about the quiet confidence of knowing that with a little flour, some patience, and a bit of grit, you can turn basic ingredients into something that actually feels like home.”
Owen Silas Vance
Don't Let the Flour Settle
At the end of the day, making pizza from scratch isn’t about achieving some professional, Michelin-star perfection on your first try. It’s about understanding the mechanics: letting your dough ferment properly so it actually has flavor, and using real sauce ingredients instead of that sugary canned stuff that kills the vibe. Once you realize that a little patience with your yeast and a bit of respect for your toppings are the only real secrets, the whole process becomes much less intimidating. You’ve got the recipe, you’ve got the technique, and now you just need to stop overthinking the details and actually get it in the oven.
I know that when you’re staring at a pile of flour and a sticky mess on your counter, it can feel like just another thing on the endless “adulting” to-do list. But there is something incredibly grounding about making something with your own hands that actually tastes better than what you’d pay twenty bucks for at a chain restaurant. Whether your crust comes out a little uneven or your cheese melts a bit too fast, own the process. Competence is a muscle, and every time you tackle a kitchen project like this, you’re getting stronger. Now, go grab a slice and enjoy the win.
Frequently Asked Questions
My dough isn't rising at all—did I kill the yeast or is my kitchen just too cold?
It’s usually one of two things: dead yeast or a cold kitchen. First, check your water temperature. If it was too hot, you basically boiled the life out of it. If it was ice cold, the yeast is just sleeping. Try moving your bowl to a warm spot—like inside an oven that’s turned off with the light on. If it still doesn’t budge after an hour, the yeast was likely dead. Time to start over.
Can I actually get a crispy crust if I’m using a standard home oven instead of a pizza stone?
Look, I get it. Most of us don’t have a dedicated pizza oven or a massive budget for fancy stones. The short answer? Yes, you absolutely can. If you don’t have a stone, flip a heavy baking sheet upside down and preheat it in the oven. It acts as a heat reservoir, mimicking that stone effect. Just make sure the oven is screaming hot before the dough hits the metal. It’s all about heat management.
What’s the best way to store leftover dough if I don't want to use the whole batch at once?
Don’t let a big batch of dough go to waste just because you aren’t hungry for three pizzas tonight. If you have leftovers, lightly oil a bowl, tuck the dough inside, and cover it tightly with plastic wrap to keep it from drying out. Stick it in the fridge; the cold slows down fermentation, so it’ll stay good for about two to three days. It actually develops more flavor that way.