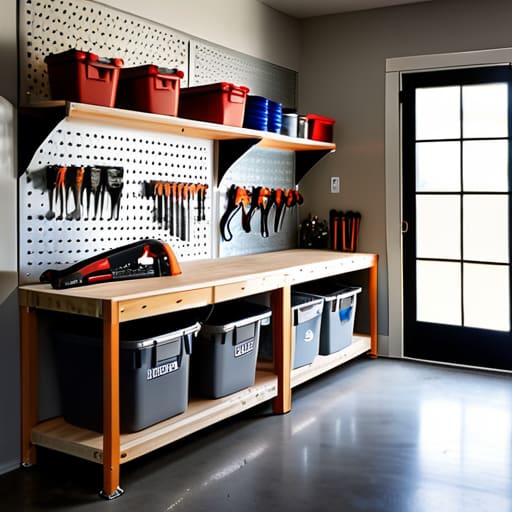
I remember standing in my parents’ driveway three years ago, staring at a mountain of rusted tools, half-empty paint cans, and boxes of stuff we “might need someday,” feeling completely paralyzed. I had this vision of a pristine, Pinterest-perfect workshop with custom-built cabinetry and high-end lighting, but my bank account—and my actual life—had other plans. Most of the advice you see online about how to organize your garage assumes you have a massive budget and a professional contractor on speed dial. It’s all aesthetic over function, and frankly, it’s exhausting to look at.
I’m not here to sell you on a $2,000 shelving system you don’t need. My goal is to show you how to reclaim your space using what you already have and a bit of strategic planning. We’re going to strip away the fluff and focus on practical, low-cost systems that actually work for real people with busy lives. I’ll walk you through the sorting process, the essential zones you need to create, and how to keep things from falling back into chaos. Let’s stop overcomplicating the mess and just start doing it.
Table of Contents
A No Nonsense Garage Decluttering Checklist
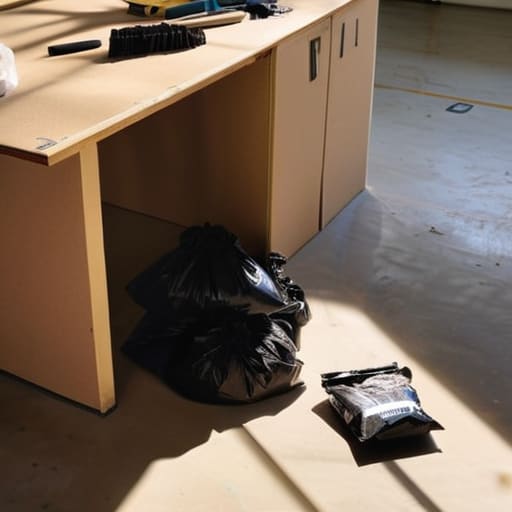
Before you even touch a single box, you need a game plan. If you just start pulling things out of the corner, you’ll end up sitting on the floor in a sea of junk within twenty minutes, feeling defeated. Grab a Sharpie and some heavy-duty trash bags, and follow this garage decluttering checklist to keep your momentum. First, categorize everything into four piles: Keep, Donate, Trash, and “Maybe.” That “Maybe” pile is a trap, so be ruthless—if you haven’t touched it in two years, it’s not a keepsake, it’s just clutter.
Once the floor is clear, it’s time to think vertically. This is where most people fail; they keep trying to stack things on the ground like a game of Tetris. To actually succeed at maximizing small garage space, you have to get your stuff off the floor and onto the walls. Look for ways to utilize your vertical real estate with sturdy wall mounted garage storage or heavy-duty racks. If you can see it and reach it without moving three other things, you’ve actually won.
Sorting Your Tools and Equipment Without the Stress
Once you’ve finished the big purge, you’re probably staring at a pile of wrenches, power drills, and half-empty cans of paint, wondering where to even begin. Don’t try to find a “perfect” spot for everything right away; that’s how you end up paralyzed by indecision. Instead, group your stuff by how you actually use it. I like to separate things into “frequent flyers”—the screwdriver and tape measure I grab every weekend—and “deep storage” items, like the heavy-duty socket set I only touch once a year.
When it comes to the actual layout, stop thinking about floor space and start looking at your walls. I’ve learned the hard way that keeping everything on the ground is a recipe for a tripping hazard. Investing in some solid wall mounted garage storage or a basic set of pegboards is a total game-changer for maximizing small garage space. If you have a decent budget, a sturdy set of garage shelving systems can help you stack bins vertically, keeping the heavy stuff off your toes and making it way easier to see what you actually own.
Five Moves to Keep the Chaos at Bay
- Stop using the floor for everything. If it’s not a heavy workbench or a lawnmower, it probably belongs on a shelf or a wall hook. Get your stuff up high so you actually have room to walk without playing a game of Tetris.
- Invest in clear bins, not opaque ones. I learned this the hard way when I spent twenty minutes digging through a dusty cardboard box looking for a specific drill bit. If you can see what’s inside, you won’t buy duplicates.
- Use vertical space like it’s your job. Since I studied urban planning, I’m obsessed with maximizing small footprints. Pegboards are your best friend here—they turn your tools into a visual map so you never lose them again.
- Label everything, even if you think you’ll remember. I keep a Sharpie in my pocket for a reason. A quick “Seasonal Decor” or “Car Maintenance” tag saves you from a massive headache three months from now.
- Create a “landing zone” near the door. Keep a small tray or a single shelf for the stuff you grab every time you head out—keys, sunglasses, maybe a flashlight. It prevents that frantic five-minute scramble when you’re already running late.
The Bottom Line
Don’t aim for a showroom finish on day one; just focus on getting the floor clear so you can actually move around.
Group your stuff by how you use it, not just what it is—keep the heavy tools where they’re easy to grab and the seasonal junk tucked away.
Use what you have instead of buying expensive custom shelving; a few sturdy bins and some basic wall hooks go a long way.
The Real Goal of a Tidy Space
“An organized garage isn’t about having a showroom-perfect workspace; it’s about making sure you aren’t hunting for a screwdriver for twenty minutes every time you actually need to get something done.”
Owen Silas Vance
The Finish Line is Just the Beginning
Look, I know it feels like you’ve just climbed a mountain, but you’ve actually done the hardest part. You’ve stopped the cycle of tripping over random boxes and finally gave your tools a legitimate home. By sticking to that decluttering checklist and being intentional about how you sorted your gear, you’ve moved past the stage of “just surviving” your space to actually managing it. Remember, the goal wasn’t just to clear floor space; it was to create a system where you aren’t hunting for a screwdriver for twenty minutes every time a project pops up. You’ve built the foundation, and now you have the clarity to actually use your garage for what it’s meant for.
Don’t let this momentum die just because the floor is clear and the shelves are labeled. Organization isn’t a one-time event you check off a list; it’s a habit you maintain. There will be days when a project gets messy or a random bag of hardware ends up on the workbench, and that’s fine. Just don’t let the chaos settle back in permanently. Treat your space with a little bit of respect, put things back where they belong, and you’ll find that competence becomes second nature. You’ve proven you can handle the heavy lifting—now just keep showing up.
Frequently Asked Questions
I’ve already sorted my stuff, but how do I actually figure out which storage bins or shelving units are worth the money versus just being more clutter?
Don’t fall for the “aesthetic organization” trap on TikTok. Those matching, clear bins look great in a video, but they’re often a waste of cash if you don’t need them. Before you buy anything, measure your actual shelf space and count your items. Buy heavy-duty metal shelving for weight, and stick to rugged, opaque bins for stuff you won’t use daily. If it doesn’t serve a specific, measured purpose, it’s just more clutter.
My garage is tiny and basically just a glorified hallway—is there a way to organize this without needing a massive workshop setup?
Look, I’ve been there. My first “workspace” was basically a corner of a cramped rental where I had to move my bed just to sand a chair leg. If you don’t have room for a workbench, stop trying to force a workshop layout. Go vertical. Use heavy-duty pegboards or wall-mounted tracks to get everything off the floor. If it isn’t hanging, it’s in the way. Think of your garage as a storage corridor, not a studio.
What’s the best way to keep things organized long-term so I don't end up right back where I started in three months?
The secret isn’t a fancy labeling system; it’s the “one-in, one-out” rule and a dedicated “home” for every single item. If a tool doesn’t have a specific hook or bin, it’s just clutter waiting to happen. I also swear by a five-minute reset every Sunday. Don’t aim for perfection—just spend five minutes putting things back where they belong. If it’s too hard to maintain, your system is too complicated. Simplify it.