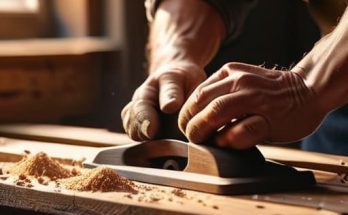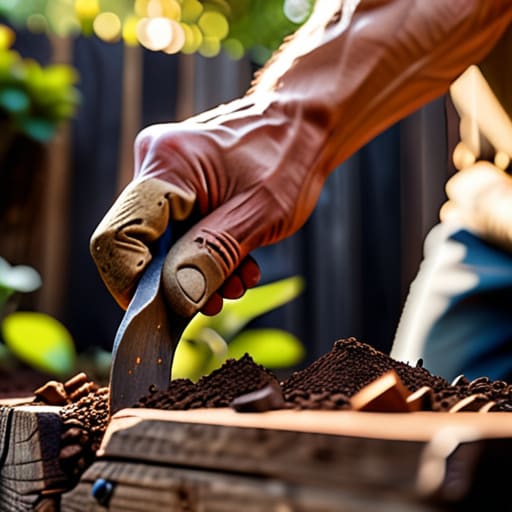
I was standing in the middle of a big-box hardware store last Saturday, staring at a stack of cedar planks and feeling that familiar, annoying knot of indecision in my chest. I had this vision of a lush, productive little corner of my balcony, but the sheer amount of “expert” advice online made it feel like I needed a degree in structural engineering just to plant some basil. Most people make you believe that learning how to build a raised garden bed requires a massive workshop and a bank account to match, but that’s just gatekeeping. You don’t need a masterclass; you just need a few solid boards and the willingness to get your hands a little dirty.
In this guide, I’m stripping away the fluff and the expensive, unnecessary gadgets. I’m going to show you exactly how to pick your materials, assemble the frame without losing your mind, and prep the soil so your plants actually thrive. This isn’t about achieving a Pinterest-perfect aesthetic; it’s about building something functional that works for your space and your budget. Let’s stop overcomplicating the process and just get to work.
Table of Contents
Guide Overview
Tools & Supplies
- Measuring tape for marking wood lengths
- Power drill for driving screws
- Hand saw or miter saw for cutting lumber
- Level to ensure the ground is flat
- Untreated cedar or redwood boards (4-6 pieces)
- Exterior grade wood screws (1 box)
- Garden soil and compost (varies by bed size)
- Hardware cloth or landscape fabric (optional for base)
Step-by-Step Instructions
- 1. First, grab your materials. Don’t go overboard with expensive cedar if it’s going to blow your monthly budget; standard untreated lumber works just fine if you know what to look for. You’ll need four boards for the sides, some sturdy corner posts (basically thicker pieces of wood), a box of exterior-grade screws, and a drill. I always keep a small notebook handy to jot down the exact dimensions so I don’t end up with a box that’s lopsided or too small for the space I’ve cleared.
- 2. Map out your footprint. Before you even touch a screwdriver, clear the patch of ground where the bed is going to live. If you’re dealing with grass, don’t stress about digging it all up—just mow it as short as possible. I like to use some string or even just a few heavy stones to mark the perimeter so I can visualize the scale. There’s nothing worse than finishing a build only to realize it’s blocking your walking path.
- 3. Build your side panels. This is where you actually start putting things together. Lay two of your boards on a flat surface and screw them into your corner posts. I find it easiest to pre-drill the holes first; it prevents the wood from splitting, which is a mistake I made a lot when I was first starting out. Once you have two identical sides, you’re halfway there.
- 4. Connect the sides into a frame. Stand your panels up and screw them into the remaining corner posts to form the rectangle. If you’re worried about it being wobbly, just add an extra screw at the top and bottom of each joint. You want this thing to be solid enough to hold back a lot of heavy, wet soil without bowing outward.
- 5. Level the ground and set the bed. This part is a bit of a chore, but it’s non-negotiable if you want your garden to look decent. Move your frame to its final spot and check it with a level. If one side is higher than the other, just scrape away some dirt or add a bit of sand underneath until it’s perfectly flat. A level bed makes the whole garden look intentional rather than accidental.
- 6. Line the bottom and fill it up. To keep weeds from creeping in, I usually lay down a layer of plain cardboard at the very bottom—it’ll eventually rot away and turn into food for the soil. Once that’s in, fill the bed with a good mix of topsoil and compost. Don’t skimp on the quality here; your plants are essentially living in this mixture, so make sure it’s nutrient-rich and ready to work.
The Cedar vs Pressure Treated Lumber Debate Settled
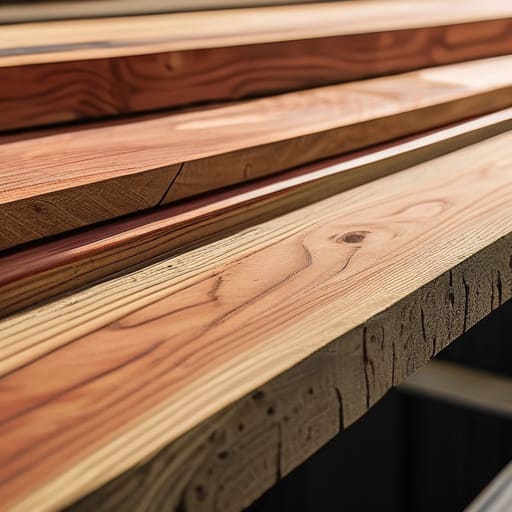
This is where most people stall out, usually while staring blankly at the lumber aisle. You’re standing there wondering if you’re going to poison your tomatoes or blow your entire weekend budget. When it comes to the cedar vs pressure treated lumber debate, there isn’t one “correct” answer, just the one that fits your current reality.
If you have the extra cash, go with cedar. It’s naturally rot-resistant, which means it can handle being shoved into damp dirt for years without falling apart. It’s arguably the best wood for raised beds if you want a low-maintenance setup that looks clean. However, if you’re working with a tight budget—something I definitely had to do growing up—modern pressure-treated wood is actually a safe bet. The chemicals used today are significantly different from the old, nasty stuff, so it won’t leach toxins into your veggies like people used to fear.
My personal rule of thumb? If you’re growing heavy feeders like squash or leafy greens, invest in the cedar. If you just want a quick, functional starter bed to get your feet wet, grab the treated boards and save that extra money for a high-quality soil mix instead.
Smart Garden Bed Dimensions for Vegetables and Success
Before you start hammering nails, you need to talk about space. It’s easy to get carried away and build a massive wooden fortress, but if you can’t reach the center without stepping into the frame, you’re going to compact your soil and kill your plants. For most backyard setups, the sweet spot for garden bed dimensions for vegetables is a width of no more than four feet. This allows you to reach everything comfortably from either side. If you’re working with a tight urban patio or a narrow side yard, don’t be afraid to go long and skinny; it’s much better to have three narrow beds than one giant one that’s impossible to manage.
Depth is the next thing to consider. If you’re just growing greens or herbs, a shallow six-inch frame might do the trick, but if you want to grow heavy hitters like carrots or tomatoes, aim for at least twelve inches. A deeper bed gives you more room to play with your raised bed soil mix ratio, ensuring your roots have plenty of nutrient-rich space to expand. Just remember: plan for the plant, not just the footprint.
Pro-Tips to Save Your Back (and Your Wallet)
- Don’t skimp on the liner. Even if you’re using cedar, throwing a layer of landscape fabric at the bottom prevents weeds from creeping up and keeps your expensive soil from washing out the bottom every time it rains.
- Level your ground before you commit. It’s tempting to just drop the boards on the grass and call it a day, but if your bed is crooked, your water will pool in one corner and leave the other side bone-dry. Spend ten minutes with a level; your plants will thank you.
- Buy your screws in bulk. I learned this the hard way when I ran out halfway through my first project and had to drive back to the hardware store. Grab a box of exterior-grade deck screws—they won’t rust when they hit the damp soil.
- Think about your reach. I see people building massive 4×4 beds all the time, but unless you’re planning on walking on your soil (which you shouldn’t do), you’ll never be able to reach the middle to weed or harvest. Keep it narrow enough that you can reach the center from either side.
- Prep your soil mix ahead of time. Don’t just scoop dirt from your backyard into the bed; it’s usually too dense and lacks nutrients. Mix in some compost and organic matter early so the bed is actually ready to plant the moment you finish building it.
The Bottom Line
Don’t get paralyzed by the perfect setup; grab some cedar or untreated wood, build a sturdy frame, and just get some plants in the ground.
Stick to manageable dimensions so you aren’t fighting your own garden to reach the middle, and always prioritize drainage.
Building this yourself isn’t about being a master carpenter—it’s about taking control of your space and your budget one step at a time.
The Philosophy of the Build
“A garden bed doesn’t need to be a Pinterest-perfect masterpiece to work; it just needs to be sturdy enough to hold the dirt and simple enough that you actually finish it.”
Owen Silas Vance
Final Thoughts Before You Dig In
At the end of the day, building a raised bed isn’t about having a professional-grade workshop or a massive budget. It’s about making a few smart choices—like picking the right wood for your soil and getting your dimensions right so you aren’t constantly straining your back—and then actually getting the job done. Whether you went with the premium route of cedar or kept things budget-friendly with pressure-treated lumber, you’ve already done the hardest part, which is moving past the “I can’t do that” phase. You’ve got your materials, you’ve got your plan, and now you just need to stop planning and start building.
I know that staring at a pile of lumber and a bag of soil can feel a little overwhelming, especially if you aren’t used to working with your hands. But I promise you, there is a specific kind of quiet confidence that comes from eating a tomato that you grew in a box you built yourself. Don’t worry about making it look like a Pinterest board on day one; perfection is a trap that keeps people from ever starting. Just get it in the ground, get your hands a little dirty, and embrace the learning curve. You’ve got this.
Frequently Asked Questions
Do I need to line the bottom with cardboard or landscape fabric to stop weeds?
Honestly, go with the cardboard. It’s a classic move for a reason. Laying down thick, brown corrugated cardboard (remove any plastic tape first!) creates a great barrier that smothers weeds and eventually breaks down into organic matter. Landscape fabric is fine, but it can sometimes clog over time and mess with drainage. If you want to keep it simple and budget-friendly, just layer the cardboard, soak it with water, and build your soil right on top.
How often do I actually need to add more soil as the bed settles?
Honestly, don’t stress about doing this on a set schedule. Soil settles naturally as you water it and as organic matter breaks down. I usually check mine once a season—maybe in early spring before planting. If you see the soil level dropping more than an inch or two below the rim, just top it off. I like to mix in some fresh compost when I do; it’s an easy way to refresh the nutrients without a total overhaul.
Is it worth it to build a raised bed on top of grass, or should I dig the turf out first?
Honestly? Don’t bother digging up the turf. You’ll end up with a sore back and a mess that’s harder to manage than it’s worth. Just mow the grass as short as you can, lay down a thick layer of plain brown cardboard over the area, and build your bed right on top. The cardboard smothers the weeds and eventually decomposes, turning into food for your soil. It’s lazy, it’s efficient, and it works.