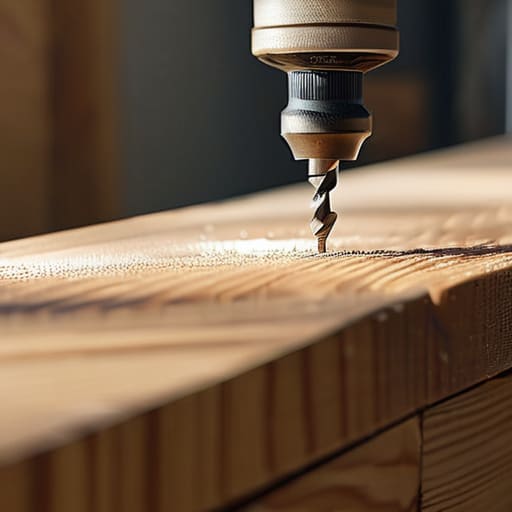
I was halfway through trying to mount a floating shelf in my first apartment when the drill slipped, leaving a jagged, ugly crater in my drywall and a sinking feeling in my gut. I remember staring at that mess, thinking I’d need to call a professional or just live with a ruined wall. But here’s the thing: most people think you need a massive workshop or a degree in engineering to master basic tools, but that’s a lie. Learning how to use a drill isn’t about having the most expensive gear; it’s just about understanding the physics of what you’re doing and not being afraid to make a mistake.
I’m not going to bore you with a twenty-page manual or technical jargon that sounds like it came from a factory floor. Instead, I’m going to walk you through the actual, hands-on mechanics of holding the tool, picking the right bits, and controlling the pressure so you don’t end up with a hole you can’t fix. This is the no-nonsense guide to gaining the confidence to tackle your own repairs, whether you’re hanging a mirror or restoring a thrifted dresser. Let’s just get to work.
Table of Contents
Guide Overview
Tools & Supplies
- Power drill (cordless or corded)
- Drill bits (various sizes for drilling and driving)
- Workpiece (wood, metal, or plastic)
- Fasteners (screws or anchors)
Step-by-Step Instructions
- 1. First things first, you need to pick the right bit for the job. If you’re drilling into wood, grab a standard twist bit; if it’s metal, you’ll want something specifically designed for that, and for masonry, you need a masonry bit with that distinct, wide tip. Using the wrong one is a quick way to ruin your bit and frustrate yourself, so take thirty seconds to double-check.
- 2. Once you have your bit, pop it into the chuck. This is the part at the very front that holds the bit in place. You’ll need to twist the chuck to open the jaws, insert your bit, and then tighten it back up. I usually do this by hand, but if it feels a little loose, give it a firm twist until it’s snug and secure.
- 3. Before you even touch the material, check your drill’s settings. Most drills have a clutch—that ring with the numbers on it—that controls how much torque is applied. If you’re driving a screw, set it to a lower number so you don’t strip the head or crack the wood. If you’re just drilling a hole, make sure you’re on the “drill” icon.
- 4. Now, mark your spot. Don’t just wing it; even a tiny slip can turn a project into a mess. Use a pencil to make a small dot where you want the hole to go, and if you want to be extra precise, use a nail or an awl to make a tiny indentation. This gives the tip of the bit a place to sit so it doesn’t wander across your surface when you start.
- 5. Get into position. Hold the drill firmly with both hands if you can—one on the handle and one on the back or the side grip. Lean your body weight slightly into the tool, but don’t go overboard. You want to apply steady, even pressure so the bit bites into the material rather than just spinning on top of it.
- 6. Squeeze the trigger slowly. You don’t need to go full throttle immediately. Start with a light touch to get the hole started, and once you feel the bit has found its groove, you can increase the speed. If you hear a high-pitched screeching or see smoke, back off immediately—you’re either pushing too hard or using the wrong speed.
- 7. When the hole is deep enough, pull the drill straight out while it’s still spinning slowly. Don’t pull it out sideways, or you might catch the edge of the hole and tear the material. Once you’re clear, release the trigger and take a second to inspect your work before moving on to the next one.
Mastering Drill Bit Types and Uses Without the Confusion
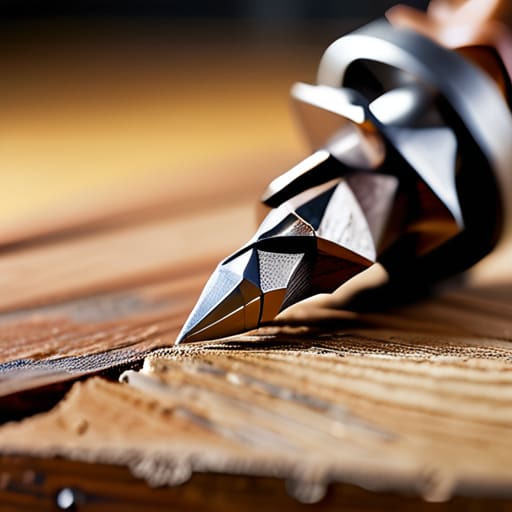
Walking into a hardware store is enough to make anyone’s head spin. You’ll see rows of shiny metal bits that all look identical, but using a wood bit on a steel plate is a fast way to ruin your tool (and your afternoon). When you’re figuring out drilling into wood vs metal, the first thing to look at is the tip. Wood bits usually have a sharp, pointy center to keep things from wandering, while metal bits are flatter and tougher to handle the friction. If you’re working on one of my thrifted mid-century sideboards, stick to high-speed steel bits—they’re reliable and won’t tear up the grain.
Once you’ve picked your bit, don’t just slam the trigger. A lot of people skip the step of adjusting drill torque settings, but that’s how you end up stripping a screw or cracking a delicate surface. Think of torque as your drill’s “strength control.” If you’re driving a small screw into soft pine, dial it down. If you’re trying to bore a hole through something dense, crank it up. It’s all about matching the power to the task so you stay in control.
The Simple Secret to Adjusting Drill Torque Settings
Look at that numbered ring right behind the chuck. That’s your torque setting, and honestly, it’s the most underrated feature on the tool. Most people think it’s just there for decoration, but it’s actually the difference between a clean screw and a stripped-out mess. Think of it like a volume knob for force. If you’re driving a small screw into a piece of reclaimed wood from my latest thrift project, you want a low number. If you crank it up too high, the drill will keep spinning even after the screw is seated, which completely ruins the head of the screw.
When you’re adjusting drill torque settings, you’re essentially telling the motor when to “give up” and stop turning. For heavy-duty tasks like drilling into wood vs metal, you’ll usually want the torque set to zero (the drill icon), which means maximum power without the clutch kicking in. But for assembly work, start low and work your way up. It’s all about finding that sweet spot where the screw goes in flush without the drill jerking your wrist. It takes a few tries to get the feel for it, but once you do, you’ll stop fearing the slip.
Pro Moves to Keep You From Messing Up
- Mark your spot with a nail or a center punch first. If you just start drilling, the bit is going to wander across your wood or drywall, and you’ll end up with a hole exactly where you didn’t want it.
- Don’t fight the tool; let it work. You don’t need to lean your entire body weight into the drill. Apply steady, even pressure, and if it’s not cutting through, stop and check if your bit is dull or if you need more speed.
- Watch your grip. Hold the drill with both hands whenever you can—one on the trigger and one on the back or the side handle. It keeps you from getting jerked around if the bit catches on a knot in the wood.
- Mind the “exit wound.” When you’re drilling all the way through something, the pressure often causes the back side to splinter or blowout. Slow down right as you’re about to break through, or put a scrap piece of wood behind it to catch the mess.
- Keep your workspace clear of the small stuff. I’ve learned the hard way that drilling near a pile of loose screws or loose change is a recipe for a scratched surface or a jammed bit. Clear the area, drill, then clean up.
The Bottom Line
Don’t let the gear intimidate you; once you understand how to match the right bit to your material and dial in your torque, you’re already ahead of most people.
Precision comes from patience, not power—hold the tool steady, let the motor do the work, and don’t rush the process.
Competence is built through repetition, so don’t sweat a mistake on a scrap piece of wood; just adjust, learn, and try again.
## The Mindset Shift
“A drill isn’t some high-tech piece of machinery meant to intimidate you; it’s just a tool that wants to do the heavy lifting so you don’t have to. Stop worrying about the noise or the power, pick the right bit, and just focus on steady pressure. Once you stop overthinking the mechanics, you’ll realize you’ve been capable of this all along.”
Owen Silas Vance
You’ve Got This
At the end of the day, using a drill isn’t about having a massive workshop or a collection of expensive power tools; it’s about knowing how to handle what you have. We’ve covered the basics: choosing the right bit for the job, understanding how to control your torque so you don’t strip a screw, and keeping a steady hand to ensure your holes actually go where you want them to. It might feel a little intimidating when you first pull the trigger, but once you realize that most of the work is just controlled pressure and patience, the machine becomes an extension of your hand rather than something you’re fighting against.
Don’t let the fear of making a mistake keep you from starting that project sitting in the corner of your room. I’ve definitely stripped a few screws and drilled a few holes in the wrong spot while I was learning, and honestly, it’s just part of the process. The goal isn’t perfection on your first try; the goal is building the competence to fix things yourself. So, grab your gear, clear some space on your table, and just start doing it. You’ll be surprised at how quickly that “I can’t do this” feeling turns into “I just did that.”
Frequently Asked Questions
How do I keep the drill from slipping or wandering when I'm trying to start a hole?
I’ve definitely been there—nothing ruins a clean project faster than a bit skidding across your wood and leaving a permanent scar. To stop the wander, start by using a center punch or even a sharp nail to make a tiny divot where you want the hole. That little indentation acts like a landing pad for your bit. Also, keep your pressure light and steady at first; let the tip find its footing before you go full throttle.
Is there a way to tell if I'm using too much pressure and about to strip a screw?
You’ll feel it in your wrist before you see it in the screw. If you feel the drill suddenly “jump” or slip inside the head, stop immediately. That’s the sound of a stripped screw coming on. If you’re pushing so hard that your arm is shaking or the drill bit is digging into the material rather than spinning, back off. Let the motor do the work; you’re just there to guide it.
What’s the deal with cordless drills—how do I know if my battery is actually going to last through a project?
Honestly, it’s all about the Ah (Amp-hours). Think of it like a gas tank: a 2.0Ah battery is a small sedan, great for quick tasks, while a 5.0Ah is a heavy-duty truck that’ll power you through a whole afternoon of drilling. If you’re just hanging a shelf, don’t sweat it. But if you’re building a bookshelf, grab the higher Ah rating. It’s better to have extra juice than to stall halfway through.