I remember sitting on my kitchen floor last year, surrounded by half-empty bottles of expensive pigment and a sticky, ruined mess that used to be a coaster. I had watched dozens of those polished, high-production tutorials where everything looks effortless, but nobody mentions the sticky reality of a failed pour or the way a tiny bit of dust can absolutely wreck your hard work. Most people make resin crafts for beginners seem like some mystical, high-end art form that requires a professional studio and a massive budget, but honestly? That’s just gatekeeping. You don’t need a sterile lab or a thousand dollars in supplies to make something that actually looks good on your coffee table.
I’m not here to sell you on a lifestyle or tell you to buy every specialized tool on the market. My goal is to strip away the intimidation and give you the actual, unfiltered steps to getting it right the first time. I’ve done the trial and error so you don’t have to, and I’m going to show you how to master the basics without breaking your bank account. Let’s stop staring at the tutorials and just start pouring.
Table of Contents
- Mastering the Essential Resin Art Supplies Without Breaking the Bank
- Getting the Resin Mixing Ratios Explained Once and for All
- 5 Ways to Keep Your First Project from Turning Into a Sticky Disaster
- The Bottom Line Before You Start Pouring
- ## A Note on Getting Started
- Stop Planning, Start Pouring
- Frequently Asked Questions
Mastering the Essential Resin Art Supplies Without Breaking the Bank
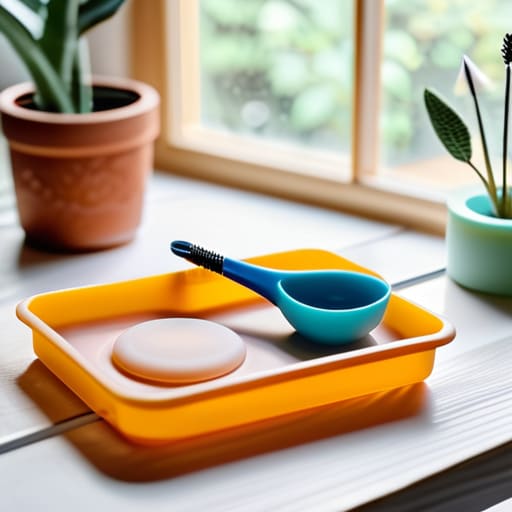
Look, I get it. You walk into a craft store or scroll through an online shop and suddenly you feel like you need a chemistry lab just to make a coaster. You don’t. My advice? Stick to the basics first. You need a high-quality epoxy, some silicone molds, and a few mixing cups. If you’re looking to make small items like earrings, go for the best resin for jewelry making, which is usually a thinner, high-clarity formula. Don’t go overboard with the fancy pigments or gold leaf right away; you can always add those once you’ve mastered the basics.
The one thing you cannot skimp on is your gear. I’m talking about your lungs and skin. Please, don’t be that person who thinks a paper mask is enough; you need a proper respirator and nitrile gloves. Taking basic safety precautions for working with epoxy isn’t just “extra”—it’s non-negotiable for your health. Once you’ve got your safety setup, grab a cheap butane torch or a heat gun. It’s the easiest way to deal with those annoying surface bubbles that ruin a perfect pour.
Getting the Resin Mixing Ratios Explained Once and for All
This is where most people trip up and end up with a sticky, half-hard mess that ruins a perfectly good project. When you look at a bottle, you’ll see one of two things: a 1:1 ratio or a 2:1 ratio. This isn’t just a suggestion; it’s chemistry. A 1:1 ratio means equal parts resin and hardener, while 2:1 means you need twice as much resin as hardener. If you mess this up, your piece might stay tacky forever, or worse, it won’t cure at all.
I can’t stress this enough: use a digital scale instead of those cheap plastic measuring cups. Volume measurements are notoriously unreliable because the viscosity of the liquid can change depending on the temperature. If you want to avoid the frustration of a failed pour, weight is your best friend. Getting your resin mixing ratios explained through the lens of weight ensures you’re being precise. It takes an extra thirty seconds, but it saves you from wasting expensive materials and having to start over from scratch.
5 Ways to Keep Your First Project from Turning Into a Sticky Disaster
- Prep your workspace like you’re prepping for a storm. Cover everything in cheap plastic sheeting or silicone mats—resin is unforgiving, and once it hits your favorite wooden desk, it’s there for good.
- Stop trying to rush the cure time. I know you want to see the finished piece immediately, but if you mess with it while it’s still tacky, you’re just going to trap dust and fingerprints in the finish. Let it sit.
- Master the “bubble dance” before you pour. Use a heat gun or even a simple butane torch to lightly pass over the surface; it pops those annoying air bubbles instantly so your piece actually looks clear instead of cloudy.
- Don’t skimp on the ventilation. Even if the bottle says “low odor,” you’re still breathing in chemicals. Open a window or crack a door—your lungs will thank you once the fumes settle.
- Keep a bottle of high-percentage isopropyl alcohol nearby. If you make a small mistake or a drip escapes your mold, a quick wipe with alcohol can help clean up the mess before it hardens into a permanent eyesore.
The Bottom Line Before You Start Pouring
Don’t go overboard on the gear; start with the basics, get your ratios right, and remember that a little bit of mess is just part of the learning process.
Precision is everything when it comes to mixing, so treat your measurements like a recipe—if you eyeball it, you’re going to end up with a sticky, unusable mess.
Protect your space and your lungs by working in a ventilated area and wearing gloves, because cheap mistakes shouldn’t include a trip to the doctor.
## A Note on Getting Started
“Don’t get paralyzed trying to buy the professional-grade setup you see on Instagram; just grab a basic kit, get your ratios right, and start pouring—you’re going to mess up a few batches, and that’s exactly how you actually learn.”
Owen Silas Vance
Stop Planning, Start Pouring
Look, we’ve covered the heavy lifting: you don’t need a professional studio to get started, just the right basic supplies and a solid grasp on those mixing ratios. If you remember nothing else from this guide, remember that precision matters more than expensive gear. Getting your measurements right and keeping your workspace clean will save you more money and frustration than any high-end tool ever could. You’ve got the foundational knowledge now, so stop staring at the bottles and start prepping your first surface. The goal isn’t to create a museum piece on day one; it’s to get the sticky stuff moving so you can actually learn how it behaves.
I know it feels a bit intimidating when you’re staring at a mess of chemicals and potential mistakes, but trust me, perfection is a trap. Some of my favorite thrifted furniture pieces have tiny resin imperfections that just give them character. Adulting—and crafting—is mostly just about being willing to clean up a mess and try again. Don’t let the fear of a ruined batch keep you from making something cool. Grab your multi-tool, clear off a corner of your table, and just make something. You’ll figure out the nuances as you go, and honestly, that’s where the real skill is built.
Frequently Asked Questions
How do I stop getting those annoying tiny bubbles in my resin every single time?
Look, I’ve spent way too many hours staring at a piece of wood only to realize it’s covered in tiny, annoying bubbles. It’s frustrating. The secret isn’t expensive gear; it’s patience. First, let your resin sit for a few minutes after mixing to let the air rise. When you pour, go slow—don’t just dump it in. Finally, grab a heat gun or even a butane torch and lightly pass it over the surface. It’s a game changer.
Is it actually safe to do this in my apartment, or do I need a dedicated workshop space?
Look, I get it. I’m working out of a small apartment too, and the idea of mixing chemicals near my bed is sketchy. You don’t need a workshop, but you do need a plan. Don’t just pour this in your living room. Find a spot with decent airflow—ideally near a window—and grab a respirator mask. Keep your workspace contained with a silicone mat so you aren’t scrubbing resin out of your floorboards for weeks.
What happens if I mess up a pour—can I actually fix it, or is the whole piece ruined?
Look, I’ve definitely had moments where a pour looked like a disaster zone mid-cure. Take a breath—it’s rarely a total loss. If it’s just bubbles, a quick pass with a heat gun usually does the trick. If it’s uneven or tacky, you can often sand it down once it’s hard and pour a fresh layer on top to level it out. Think of it like furniture refinishing: sometimes you just have to sand, prep, and try again.