I was standing in my kitchen last Tuesday, staring at a $45 receipt for a single, overpriced soy candle from a boutique shop, feeling like I’d just been played. It’s a common trap: we think that creating something high-quality for our homes requires a massive investment in specialized equipment or a chemistry degree. But here’s the truth about how to make candles—you don’t need a laboratory or a massive budget to get that perfect, clean burn. You just need to stop letting the expensive hobbyist jargon intimidate you and realize that competence is just a series of small, repeatable steps.
I’m not going to bore you with fifty different types of wax or complex fragrance formulas that you’ll never actually use. Instead, I’m going to show you the exact, stripped-down method I use to create decent, good-smelling candles without turning my apartment into a disaster zone. We’re going to focus on the essentials: getting the temperature right, choosing reliable supplies, and avoiding the most common rookie mistakes. By the end of this, you’ll have a practical workflow that lets you craft something beautiful for your space without the unnecessary stress.
Table of Contents
- Step-by-Step Instructions
- Essential Soy Wax Candle Making Supplies You Actually Need
- Choosing Best Wick Types for Candles Without the Guesswork
- Five Ways to Stop Wasting Wax and Money
- The Bottom Line on Your First Pour
- ## The Real Value of Making Your Own
- Getting Your Hands Dirty
- Frequently Asked Questions
Guide Overview
Tools & Supplies
- Double boiler or heat-proof bowl for melting wax
- Thermometer to monitor wax temperature
- Stirring spoon for mixing fragrance
- Pouring pitcher for controlled pouring
- Soy or paraffin wax (1 lb)
- Cotton wicks (5-10 count)
- Fragrance oils (1 oz)
- Candle jars or tins (2-4 units)
Step-by-Step Instructions
- 1. First things first, you need to gather your gear. Don’t go out and buy a professional studio setup; just grab some soy wax flakes, a few cotton wicks, some glass jars (even old jam jars work if you clean them well), and a thermometer. I always keep a dedicated pouring pitcher in my kitchen for this, so don’t use your favorite pasta pot unless you want wax stains forever.
- 2. Once you’ve got your supplies, it’s time to prep the wicks. This is the part people usually rush, but if the wick isn’t centered, your candle will burn unevenly and waste half your wax. Use a tiny bit of melted wax or a glue dot to secure the wick to the bottom of your jar, then use a clothespin or a popsicle stick to hold the wick upright and centered while you work.
- 3. Now, let’s melt the wax. Set up a double boiler—if you don’t have one, just put a heat-safe bowl over a pot of simmering water. Heat the wax slowly; you don’t want to scorch it. Use your thermometer to keep an eye on the temperature, aiming for about 185°F. If you go too hot, you might ruin the scent throw later on, and we’re trying to make something that actually smells good, not just something that looks pretty.
- 4. Once the wax is liquid and hit the right temp, it’s time for the scent. If you’re using essential oils or fragrance oils, add them now and give it a gentle stir for about two minutes. This ensures the oil actually binds with the wax rather than just sitting on top. I usually stir slowly to avoid creating air bubbles, which are a total pain to get rid of later.
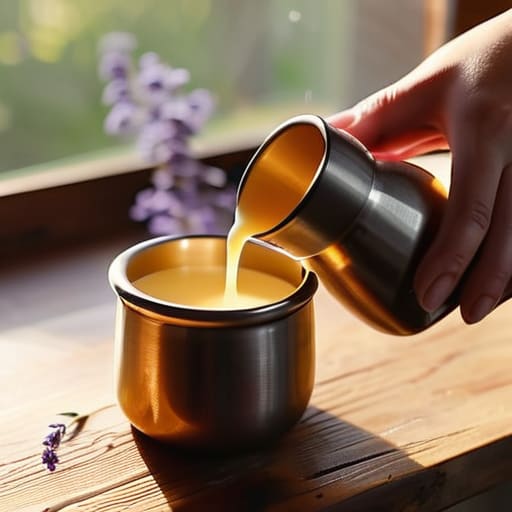
- 5. This is the most critical part: the pour. Let the wax cool down slightly to around 135°F–140°F before you start pouring it into your jars. Pouring at a slightly lower temperature helps prevent that annoying “sinkhole” look around the wick. Go slow and steady; you want a smooth, flat surface once it sets.
- 6. Finally, the hardest part for me: waiting. You can’t just light these immediately. Let them sit on a level surface at room temperature for at least 24 hours. For the best results, I actually let my candles cure for a full week before lighting them. It sounds dramatic, but it makes the scent much stronger and the burn much cleaner. Just be patient—it’s worth the wait.
Essential Soy Wax Candle Making Supplies You Actually Need
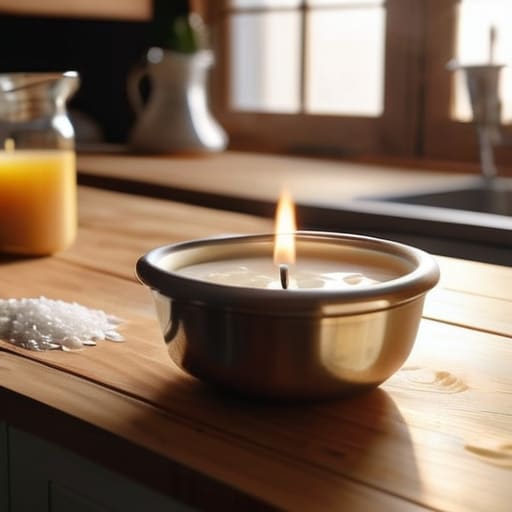
Look, you can walk into any craft store and get overwhelmed by the sheer volume of options, but most of it is just fluff. When you’re starting out with candle making for beginners, you don’t need a professional laboratory; you just need the basics that actually work. I always suggest starting with soy wax because it’s cleaner and easier to clean up if you spill some on your counter. Grab a decent pouring pitcher and a digital thermometer—trust me, guessing the heat is a quick way to ruin a batch.
When it comes to the scent, don’t feel pressured to buy expensive, branded fragrances right away. You can experiment with high-quality essential oils for scented candles to keep things natural, but just make sure they’re compatible with wax. Also, pay attention to your wicks. Choosing the best wick types for candles based on your jar size is the difference between a steady flame and a smoky mess. It’s a small detail, but it’s what separates a hobbyist from someone who actually knows what they’re doing.
Choosing Best Wick Types for Candles Without the Guesswork
Picking the right wick is where most people get stuck, and honestly, it’s the part that separates a decent candle from one that just tunnels into a useless wax pit. If you’re just starting out with candle making for beginners, don’t feel like you need to buy every variety at the craft store. The “best” wick isn’t a universal truth; it’s a math problem based on the diameter of your jar and the type of wax you’re using. Since we’re focusing on soy wax, you need a wick that can actually handle that specific burn rate without drowning in a pool of melted liquid.
I usually stick to cotton core wicks because they’re predictable and easy to trim. If you’re experimenting with different scents, remember that adding essential oils for scented candles can actually change how the wick performs—oils can sometimes soften the wax, requiring a slightly different burn. My rule of thumb? Always test a small batch first. It’s better to waste five bucks on a few mismatched wicks now than to realize you’ve wasted an entire jar of expensive soy wax later.
Five Ways to Stop Wasting Wax and Money
- Test your scent throw early. Don’t wait until you’ve poured twenty candles to realize the fragrance oil is too weak or too overpowering. Melt a tiny bit of wax, stir in your oil, and let it sit in a glass jar for a day to see how it actually smells.
- Watch your temperatures like a hawk. If you add your fragrance oil when the wax is too hot, the scent will literally evaporate into thin air. If it’s too cold, it won’t bind properly. Get a cheap digital thermometer; it’s the best investment you’ll make.
- Don’t skip the centering trick. There is nothing more frustrating than a candle that burns lopsically because the wick drifted to the side. Use clothespins or even a popsicle stick with a hole in it to keep that wick dead-center while the wax sets.
- Give your candles time to “cure.” I know, you want to light it immediately, but patience is part of the process. Let soy candles sit for at least a week before lighting them. This allows the wax crystals and fragrance to fully bond, giving you a much cleaner burn.
- Clean your gear properly while it’s still warm. Don’t let wax harden in your melting pot or pouring pitcher, or you’ll be fighting it for hours. Use some paper towels to wipe out the excess while it’s liquid, then a little rubbing alcohol to get rid of any residue.
The Bottom Line on Your First Pour
Don’t get paralyzed by the gear; you don’t need a professional studio to start, just the right wax and a decent wick.
Precision matters more than passion when it comes to temperature—watch your thermometer so you don’t waste your supplies.
View your first few attempts as experiments rather than failures; even the best makers have a few “sinker” candles before they nail the scent throw.
## The Real Value of Making Your Own
“Making your own candles isn’t about achieving some perfect, Pinterest-ready aesthetic; it’s about the quiet confidence that comes from knowing exactly what’s in your space and realizing you don’t need a massive budget to create something that actually feels like home.”
Owen Silas Vance
Getting Your Hands Dirty
Look, making candles isn’t about achieving some Pinterest-perfect, studio-quality masterpiece on your first try. It’s about understanding the basics: picking the right soy wax, matching your wick to the diameter of your jar, and getting your scent loads right. You’ve got the supplies, you know the steps, and you’ve cut through the technical jargon that usually makes this feel more complicated than it actually is. If your first pour looks a little lopsided or the scent isn’t quite what you imagined, don’t sweat it. That’s just part of the process. Just keep your workspace organized, document what worked in your notebook, and treat every “failed” candle as a data point for your next batch.
At the end of the day, the goal here wasn’t just to make a candle; it was to prove that you can take a raw material and turn it into something useful with your own two hands. There is a specific kind of quiet confidence that comes from knowing you don’t have to rely on a store-bought luxury item when you can create it yourself for a fraction of the cost. Stop waiting for the “perfect” moment or the “perfect” setup to start a new skill. Grab your wax, find a heat source, and just start doing it. You’ll be surprised at how much better your space feels when it’s lit by something you actually built.
Frequently Asked Questions
How do I stop my candles from tunneling or having those weird sinkholes in the middle?
Tunneling is usually just a sign that your wick is too small for your jar, but sinkholes are a different beast—that’s just the wax shrinking as it cools. To fix it, don’t panic. If you see a hole, use a heat gun or even a hair dryer to gently melt that top layer so it levels out. Moving forward, just make sure you’re letting your candles cure fully before lighting them. Patience pays off.
Is it safe to mix different types of fragrance oils, or will that mess up the scent throw?
You can definitely mix fragrance oils, but don’t just wing it. I like to think of it like mixing paint or even seasoning a meal—balance is everything. If you combine two heavy, base-note scents, you might end up with something overwhelming that chokes out the room. Start with a small test batch first. If the scent throw feels weak or “muddy,” you’ll know you need to tweak your ratios before committing to a full pour.
How long do I actually need to let them cure before I can light them without it smelling like nothing?
The short answer? Be patient. If you’re using soy wax, you really want to give them at least two weeks to cure. I know, it’s tempting to light one immediately, but if you do, you’re basically wasting your expensive fragrance oils. The scent needs that time to actually bind with the wax molecules. If you rush it, you’ll get a weak, disappointing throw. Let them sit, keep the lids on, and trust the process.