I was standing in my kitchen last Tuesday, staring at a $12 bar of “artisanal” sandalwood soap, wondering why I was paying a premium for half the ingredients and a fancy label. Most people think you need a professional-grade lab or a degree in organic chemistry to get started, but that’s just more gatekeeping. The truth is, learning how to make soap isn’t about mastering complex molecular structures; it’s just about following a reliable process and having the right basic tools. I grew up seeing how much money we wasted on overpriced household basics, and I promised myself I’d stop falling for the aesthetic markup.
In this guide, I’m stripping away the fluff and the intimidating jargon to show you the actual mechanics of the craft. I’ll walk you through the essential supplies you’ll need, how to handle your ingredients safely, and the exact steps to get a solid, clean bar every single time. We aren’t aiming for a Pinterest-perfect masterpiece that takes three weeks to cure; we are focusing on practical competence. Let’s get your hands a little dirty and start making something that actually works for your budget.
Table of Contents
Guide Overview
Tools & Supplies
- Digital scale for precise measurements
- Stick blender to emulsify oils and lye
- Stainless steel pot for melting oils
- Heat-resistant plastic or glass containers for lye solution
- Silicone molds to shape the soap
- Coconut oil (approx. 16 oz)
- Olive oil (approx. 16 oz)
- Sodium hydroxide/Lye (approx. 7 oz)
- Distilled water (approx. 10 oz)
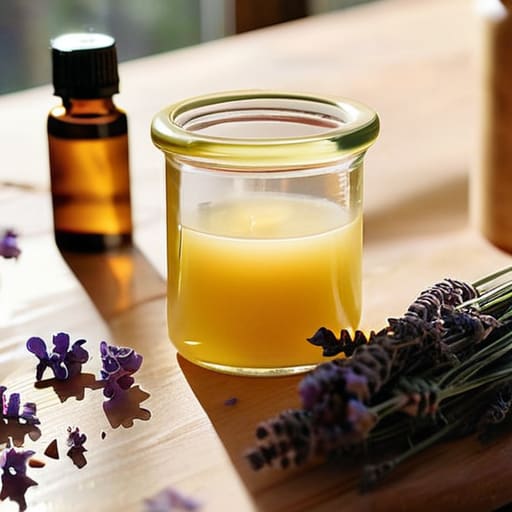
- Essential oils (1 oz for scent)
Step-by-Step Instructions
- 1. First things first: safety isn’t optional here. Since we’re working with lye—which is basically caustic magic—you need to gear up. Grab some safety goggles, long sleeves, and rubber gloves. I always keep mine in a dedicated bin so I’m not hunting for them when I’m ready to work. Set up your workspace in a well-ventilated area, like near a window, because those fumes are no joke when you first mix the lye into the water.
- 2. Grab a digital scale. Forget measuring by cups or spoons; soap making is chemistry, and even a tiny error can mess up the whole batch. Weigh out your oils (like olive or coconut oil) and your distilled water into separate containers. When you’re ready, slowly pour the lye into the water—never pour water into lye, or you’ll end up with a literal volcano in your kitchen. Stir it gently until it’s clear and set it aside to cool down to a lukewarm temperature.
- 3. Once your lye-water and your oils are both feeling pretty temperate (think body temperature), it’s time to combine them. Pour the lye mixture into the pot with your oils. This is where you’ll want to use a stick blender rather than trying to whisk it by hand. If you try to hand-whisk, you’ll be doing cardio for forty minutes. Use short, pulsed bursts with the blender until the mixture reaches “trace.
- 4. “Trace” is just a fancy way of saying the mixture has thickened to the consistency of pudding. You’ll know you’re there when you lift the blender and the drips sit on the surface for a second before sinking back in. If you want to add essential oils for scent or dried botanicals for looks, this is your window to stir them in quickly before the mixture gets too stiff to work with.
- 5. Pour your liquid gold into a silicone mold. I prefer silicone because it’s way easier to pop the bars out later without them sticking. If you’re using a wooden mold, make sure you’ve lined it with parchment paper first. Tap the mold firmly on the counter a few times to force out any air bubbles that might have gotten trapped while pouring.
- 6. Now comes the hardest part for someone like me: waiting. Cover the mold with a piece of cardboard and a towel to keep the heat in, and let it sit undisturbed for about 24 to 48 hours. Once it’s firm to the touch, pop it out of the mold and slice it into bars using a sharp knife. Don’t rush this; if you cut it too early, the bars will just mush together and look messy.
- 7. Finally, you need to cure the soap. This isn’t just “drying”; you’re letting the water evaporate so the bar becomes hard and long-lasting. Line them up in a cool, dry place with plenty of airflow and leave them for four to six weeks. I know, it feels like an eternity, but trust me, a well-cured bar of soap feels a million times more premium than one that’s still soft and gummy.
Mastering the Lye and Oil Saponification Process
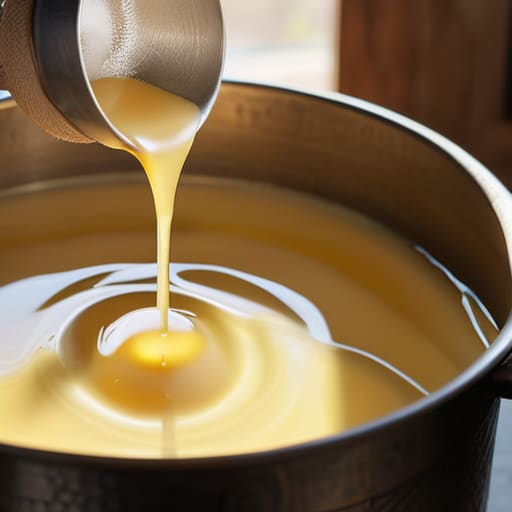
This is the part where most people start to second-guess themselves, but honestly, once you respect the chemistry, it’s just another process to manage. When you’re navigating the lye and oil saponification process, the most important thing is temperature control. You don’t need a lab-grade thermometer, but you do need to be precise. If your lye solution is too hot when it hits the oils, you risk a “volcano” effect in your pot; too cold, and the mixture might seize up before it even gets a chance to emulsify. I always aim for both my oils and my lye water to be within about ten degrees of each other.
Don’t skip out on your soap making safety equipment, either. I know it feels a bit dramatic to suit up just to make a bar of soap, but lye is no joke—it’s caustic, period. Wear your goggles and gloves every single time. Once you’ve got the safety part dialed in, you can focus on the fun stuff, like experimenting with different natural ingredients for handmade soap to get that perfect lather. Just remember: patience is your best tool here.
Choosing Natural Ingredients for Handmade Soap
When you’re picking out your base, don’t feel like you need a chemistry degree to understand what’s going into your skin. I always lean toward simple, high-quality fats because they do the heavy lifting. Coconut oil is great for getting a decent lather, but if you want that creamy, moisturizing feel, you’ll want to incorporate olive oil or shea butter. Using natural ingredients for handmade soap isn’t just about avoiding chemicals; it’s about knowing exactly how each oil will affect the bar’s hardness and how much it will bubble.
Once you have your oils dialed in, the fun part starts: the scent. I’ve learned the hard way that synthetic fragrances can be unpredictable during the reaction, so I stick to essential oils for soap scents. They offer a much more grounded, earthy aroma that fits the vibe of a real, handmade product. Just remember to check the flashpoint of whatever you’re using so your hard work doesn’t end up smelling like nothing at all. Keep it simple, keep it intentional, and your skin will thank you.
Five Things I Wish I Knew Before My First Batch
- Safety isn’t just a suggestion—it’s the whole point. Wear your goggles and gloves every single time you touch lye. I learned the hard way that one tiny splash can ruin your day (and your skin), so treat those chemicals with respect.
- Don’t get distracted by the fancy scents. If you’re using essential oils, make sure they are actually safe for topical use in soap. Some smell amazing in a diffuser but can cause major skin irritation when they’re sitting in a bar of soap for weeks.
- Patience is your best tool, even more than your multi-tool. Once you pour your soap into the mold, leave it alone. I used to be tempted to poke it or check the texture too early, but rushing the curing process is the fastest way to end up with a bar that dissolves in a week.
- Keep a dedicated “soap notebook” just like I do with my receipts. Write down every single measurement, temperature, and scent blend you use. If a batch turns out incredible, you’ll want to be able to replicate it without guessing.
- Embrace the mess. Your kitchen is going to look like a science experiment went wrong, and that’s fine. Just make sure you have a dedicated set of tools—silicone spatulas and stainless steel bowls—that you only use for soapmaking. Never mix your soap gear with your dinner gear.
The Bottom Line on Making Your Own Soap
Don’t get paralyzed by the chemistry; once you understand that it’s just a controlled reaction between oils and lye, the intimidation factor disappears.
Focus on quality over complexity—you don’t need twenty different essential oils to make a great bar, just a few reliable ingredients you actually trust on your skin.
Treat your first few batches as experiments rather than perfection; the goal is to build the competence to troubleshoot your own process as you go.
The Real Value of Making Your Own
Making soap isn’t about achieving some perfect, Pinterest-worthy aesthetic; it’s about the quiet confidence that comes from knowing exactly what’s touching your skin and realizing you don’t need a massive budget to create something high-quality from scratch.
Owen Silas Vance
The Final Rinse
Making your own soap isn’t about achieving some perfect, Pinterest-worthy masterpiece on your first try; it’s about understanding the mechanics of what you’re putting on your skin. We’ve covered the heavy lifting—from managing the lye safely to selecting oils that actually nourish your body rather than just smelling good. Remember, the goal is to control your ingredients and your budget. By mastering the saponification process and choosing quality fats over cheap synthetic fillers, you’re moving away from consumer dependency and toward a more intentional way of living. Keep your workspace clean, stay patient while the bars cure, and don’t be afraid to tweak your recipe next time.
At the end of the day, this is just another skill added to your toolkit. I know that when I first started trying to fix things around my apartment or manage my own finances, it felt like there was this invisible barrier between me and “real” adulthood. But once you strip away the intimidation, you realize that competence is built through repetition. Whether you’re curing a batch of lavender soap or restoring an old chair, the satisfaction comes from knowing you had the guts to try it yourself. So, grab your gear, trust the process, and go make something useful.
Frequently Asked Questions
Is it actually safe to handle lye in a small apartment, or do I need a dedicated workshop space?
Look, I get the hesitation. I’ve done most of my DIY in a tiny kitchen with roommates, and it’s totally doable in an apartment. You don’t need a workshop, but you do need boundaries. Pick a night when the place is quiet, crack a window for ventilation, and clear your counters. As long as you have a dedicated spot for your gear and you follow the safety protocols—gloves, goggles, and no rushing—you’re good to go.
How do I know if my soap is actually finished curing, or am I just being impatient?
Look, I get it. You’ve put in the work, and you want to see the results. But patience is part of the process. The best way to tell? The touch test. If the bar feels slimy or soft, it’s not ready. You’re looking for a hard, smooth, almost waxy texture. If you can slice a tiny corner off and it feels dense rather than gummy, you’re getting close. Don’t rush it; a rushed soap is a harsh soap.
Can I use the leftover scraps from my first batch to make something else, or is it all wasted?
Absolutely not wasted. In fact, throwing those scraps away is a rookie mistake. I usually take whatever bits and pieces are left over and toss them into a small silicone mold to make “guest soaps.” They aren’t pretty enough for a main display, but they work perfectly for quick hand washes or for gifting to friends. It’s a zero-waste way to stretch your ingredients and make sure every cent you spent actually goes toward something useful.