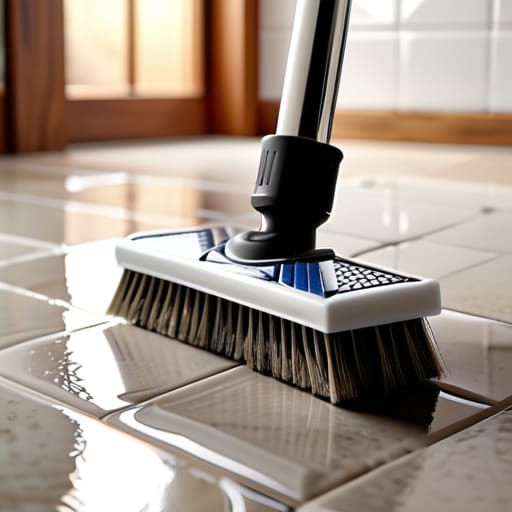
I was staring at my kitchen floor last Tuesday, scrubbing a single tile with a toothbrush and a bottle of overpriced, “miracle” foaming cleaner, feeling like a complete idiot. The lines between my tiles looked more like dark, muddy canyons than actual grout, and honestly, I was about ten minutes away from just giving up and buying a new rug to cover the shame. Most people think you need industrial-grade chemicals or a professional deep-clean service to fix this, but that’s just more gatekeeping. Learning how to clean grout isn’t about buying the most expensive bottle on the shelf; it’s about having the right mechanical approach and a few household staples that actually work.
I’m not here to sell you a lifestyle or a complicated multi-step regimen that takes up your entire Saturday. Instead, I’m going to show you the exact, low-cost method I use when I’m restoring old furniture or tackling my own cramped rental apartment. We’re going to skip the fluff and get straight to the practical tools and simple solutions that actually lift the grime without stripping your tiles. By the time we’re done, you’ll have the confidence to tackle those dirty lines and finally feel like you’re actually in control of your space.
Table of Contents
- Step-by-Step Instructions
- Mastering the Best Grout Cleaning Tools for Real Results
- Removing Mold From Grout and Deep Cleaning Tile Grout Lines
- Pro Tips to Keep Your Grout Looking Fresh (Without the Headache)
- The Bottom Line on Keeping Your Grout Clean
- ## The Reality of the Grime
- The Finish Line
- Frequently Asked Questions
Guide Overview
Tools & Supplies
- Stiff-bristled brush for scrubbing grout lines
- Microfiber cloth for wiping away residue
- Scrub brush or old toothbrush for tight corners
- Baking soda (1 cup)
- White vinegar (1/2 cup)
- Warm water (as needed)
- Dish soap (few drops)
Step-by-Step Instructions
- 1. First, clear the deck. Move any rugs, bath mats, or floor decor out of the way so you actually have room to move. I’ve learned the hard way that trying to scrub around a heavy planter just leads to unnecessary frustration and a mess you’ll have to clean up twice.
- 2. Grab your supplies before you get started so you aren’t hunting for things mid-scrub. You don’t need expensive, branded “grout cleaners” that cost twenty bucks a bottle; just grab some warm water, a bit of dish soap, and maybe some baking soda if things are looking pretty grim. I always keep a stiff-bristled brush—an old toothbrush works fine if you’re tight on space—handy for the tight corners.
- 3. Mix up your solution. If the grime is light, a simple mix of warm water and a few drops of dish soap will do the trick. If you’re staring at dark, stubborn lines in a kitchen or shower, make a thick paste using baking soda and a little water. It’s a cheap, effective way to lift dirt without using harsh chemicals that make your whole apartment smell like a lab.
- 4. Apply the paste and let it work. Spread your mixture along the grout lines and, this is the part people usually skip, let it sit for about 10 to 15 minutes. Giving the solution time to actually break down the oils and dirt means you won’t have to spend an hour manhandling the brush.
- 5. Get to scrubbing. Use your brush to work the paste into the lines using firm, circular motions. You don’t need to go overboard and strip the finish off the tile, but you want enough pressure to dislodge the buildup. I usually find that the most stubborn spots need a little extra attention right at the start.
- 6. Wipe it all away. Once you’ve finished scrubbing, use a damp microfiber cloth or a sponge to wipe up the slurry. Avoid using a mop right away, as it can just smear the dirty water around; instead, manually wipe the lines clean to ensure you’re actually removing the grime rather than just relocating it.
- 7. Dry the area thoroughly. This is a small step that makes a huge difference. Take a dry towel and pat the grout lines dry to prevent any moisture from sitting in the pores of the grout. Keeping it dry helps prevent mold and mildew from creeping back in the moment you turn the tap on.
Mastering the Best Grout Cleaning Tools for Real Results
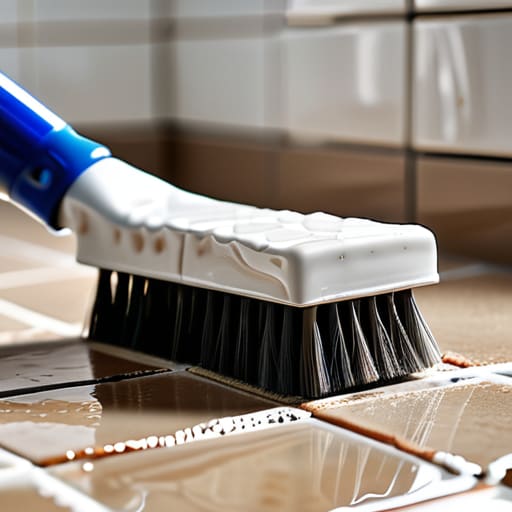
You don’t need a garage full of industrial chemicals to get the job done, but you do need the right gear to save your sanity. If you’re looking for the best grout cleaning tools, skip the flimsy little toothbrushes. They’ll snap in your hand before you even finish one corner. Instead, grab a stiff-bristled grout brush or even an old electric toothbrush if you have one lying around; the vibration does half the work for you. If you’re dealing with stubborn, dark spots, a small nylon scrub brush is your best friend for deep cleaning tile grout lines without scratching the surface.
For those of us on a budget, I’ve found that a simple paste of baking soda and vinegar for grout works wonders for lifting surface grime. Just a heads-up: don’t let the fizzing fool you into thinking it’s magic—you still need that physical elbow grease to actually move the dirt. If you notice black spots that won’t budge, you might be removing mold from grout rather than just simple dirt, which might require a slightly stronger solution. Once everything is spotless and bone-dry, don’t forget about a quick sealer application to keep the grime from coming back next month.
Removing Mold From Grout and Deep Cleaning Tile Grout Lines
If you’re staring at those black or fuzzy spots in your shower, you aren’t just looking at dirt; you’re looking at a hygiene issue. Removing mold from grout can feel a bit gross, but it’s nothing you can’t handle with a little elbow grease. I usually start by making a thick paste of baking soda and vinegar for grout. The fizzing reaction does a lot of the heavy lifting for you, breaking down the organic matter that’s trying to take root in your bathroom. Just let it sit for about ten minutes before you start scrubbing.
Once you’ve conquered the mold, don’t just walk away. If you want to stop playing whack-a-mole with grime every month, you need to focus on deep cleaning tile grout lines to ensure there’s no residue left behind to feed future growth. After everything is bone-dry, I highly recommend a quick grout sealer application. It’s a small step that acts like a raincoat for your tiles, preventing moisture from seeping into the porous material in the first place. It’s much easier to seal it once than to scrub it every single week.
Pro Tips to Keep Your Grout Looking Fresh (Without the Headache)
- Don’t wait for the grime to become a permanent resident. I’ve learned that a quick, five-minute scrub once a month is way easier than spending an entire Saturday fighting years of built-up sludge.
- Seal it or lose it. Once your grout is clean and bone-dry, apply a grout sealer. It’s a small extra step, but it creates a barrier that stops liquids and stains from sinking in deep in the first place.
- Test a small, hidden spot first. If you’re trying a new cleaner or a DIY vinegar mix, try it in a corner or behind the toilet first. You don’t want to accidentally discolor your tiles while trying to clean them.
- Use the right amount of moisture. You want your grout damp, not drowning. If you use too much water, it can seep under the tiles or weaken the grout itself, which is a much bigger project than you want to deal with.
- Keep a dedicated scrub brush handy. You don’t need a massive kit, but having one stiff-bristled brush tucked away in your cleaning cupboard means you can tackle small spots the moment you notice them.
The Bottom Line on Keeping Your Grout Clean
Don’t wait until the grime is baked in; a quick, routine scrub once a month is way easier than trying to tackle years of buildup all at once.
You don’t need a cabinet full of expensive, specialized chemicals to get the job done—usually, a solid brush and a basic cleaner are more than enough to do the work.
Once you’ve got it clean, seal it. Taking ten minutes to apply a sealer now will save you hours of scrubbing down the road.
## The Reality of the Grime
“Most people see dirty grout as a sign that they’re failing at keeping a clean home, but I see it as just another maintenance task that’s been sitting on the back burner. You don’t need a professional deep-clean service or a cabinet full of expensive chemicals to fix it; you just need a bit of patience, the right brush, and the willingness to get your hands a little dirty to get the results you want.”
Owen Silas Vance
The Finish Line
Look, I know staring at those stained lines can feel like a losing battle, but we just proved it isn’t. Whether you ended up using a heavy-duty brush for the deep grime or a simple mixture of baking soda and vinegar for a quick refresh, the important thing is that you actually did the work. Remember that the right tools—even just a stiff nylon brush and some basic cleaning agents—make all the difference between scrubbing until your arms ache and actually seeing results. Keeping your grout clean isn’t about achieving some impossible, showroom-perfect standard; it’s about consistent, manageable maintenance that keeps your space feeling decent without draining your bank account.
At the end of the day, cleaning your grout is a small victory in the much larger game of managing a home. It’s easy to get overwhelmed by the sheer number of “adulting” tasks that seem to pile up, but competence is built in these tiny, unglamorous moments. When you take care of your space, you’re really just taking care of your future self, ensuring things stay functional and looking sharp for longer. Don’t sweat the perfection, just keep showing up for your home. You’ve got the tools, you’ve got the steps, and honestly, you’ve clearly got the grit to handle whatever comes next.
Frequently Asked Questions
Is it actually safe to use vinegar on my grout, or am I going to end up damaging the sealer?
Here’s the deal: you have to be careful. If your grout is sealed, skip the vinegar. The acid in it can eat away at that protective layer over time, leaving your tiles vulnerable to stains. If you’ve already stripped the sealer, vinegar will definitely cause trouble. Stick to a pH-neutral cleaner or a mild dish soap. It’s less “exciting,” but it keeps your grout intact for the long haul.
How often do I really need to reseal my grout once I've finished cleaning it?
Look, I get it—nobody wants another chore on the calendar. But if you want to keep that deep clean from disappearing in a month, you need to stay on top of sealing. As a rule of thumb, I reseal my tiles every six to twelve months. If you notice water isn’t beading up on the surface anymore, or the grout looks darker and more porous, that’s your cue. Don’t wait for it to fail.
My grout is stained dark, not just dirty—can a deep clean actually fix the color, or is it permanent?
Look, I get the anxiety. You look at those dark lines and think you’ve permanently ruined your floor. Here’s the reality: it depends on whether you’re dealing with a stain or actual discoloration. If it’s organic buildup—like grease, soap scum, or dirt—a heavy-duty deep clean will bring the original color back. But if the grout itself has been chemically bleached or physically worn down, that might be permanent. Let’s try the deep clean first; it’s worth the effort.